Who is Adam’s Polishes?
Adam’s Polishes is a premium car care product line that includes a wide range of detailing products such as wax, sealants, dressings, cleaners, polishes and accessories. The founder of Adam’s Polishes, Adam Pitale, has been a shine freak since he was 9 years old. His passion started by detailing bicycles. From there he started his own detailing company cleaning and repairing bicycles. As years passed, he found himself working with Coca-Cola detailing their fleet vehicles which brought many challenges. Adam used his detailing experience to combine products and methods to speed up his processes. He started selling his products at swap meets and quickly realized there was a huge demand for them. This is how Adam’s Polishes was started.
Why do we use Adam’s Polishes products?
We have been using Adam’s products for a few years now. Their products are perfect for our Mustang. Adam’s is always adding fresh new products to their lineup and enhancing their current products as needed. One perfect example of enhancing a product in their current lineup is the Deep Wheel Cleaner. When it was first introduced it was pink and smelled horrible. We never complained because it worked perfectly, but a couple months after it’s initial release there was a less harsh odor version released with a new blue color.
Adam’s branding and marketing efforts is another reason why we were attracted to their products. They are constantly creating unique products that we can’t resist! One of our favorite collaborations so far is the Anti Social Social Club pack they released last year. Creating these limited release products keeps their brand fresh and relevant while reaching different demographics. They are always sharing great content on social media while interacting with their current customers and potential customers.
Detailing Basics
The word “detailing” can be a bit overwhelming for some car enthusiasts. We have teamed up with Adam’s Polishes to make the detailing process as easy as possible for you to understand by breaking it down into a few simple steps. Before you start reading any further, let us preface this with some simple rules you should follow by.
- Detail your Mustang in a shaded area
- Make sure it is cool to the touch
- Never let soap dry on your paint
- Wash and rinse one section at a time
- Check your local weather forecast to make sure there is a low chance of rain the day you want to detail your Mustang or the next couple of days after
- Allow yourself enough time to properly detail your Mustang to keep the paint looking as pristine as possible
Adam’s Two Bucket Wash Method
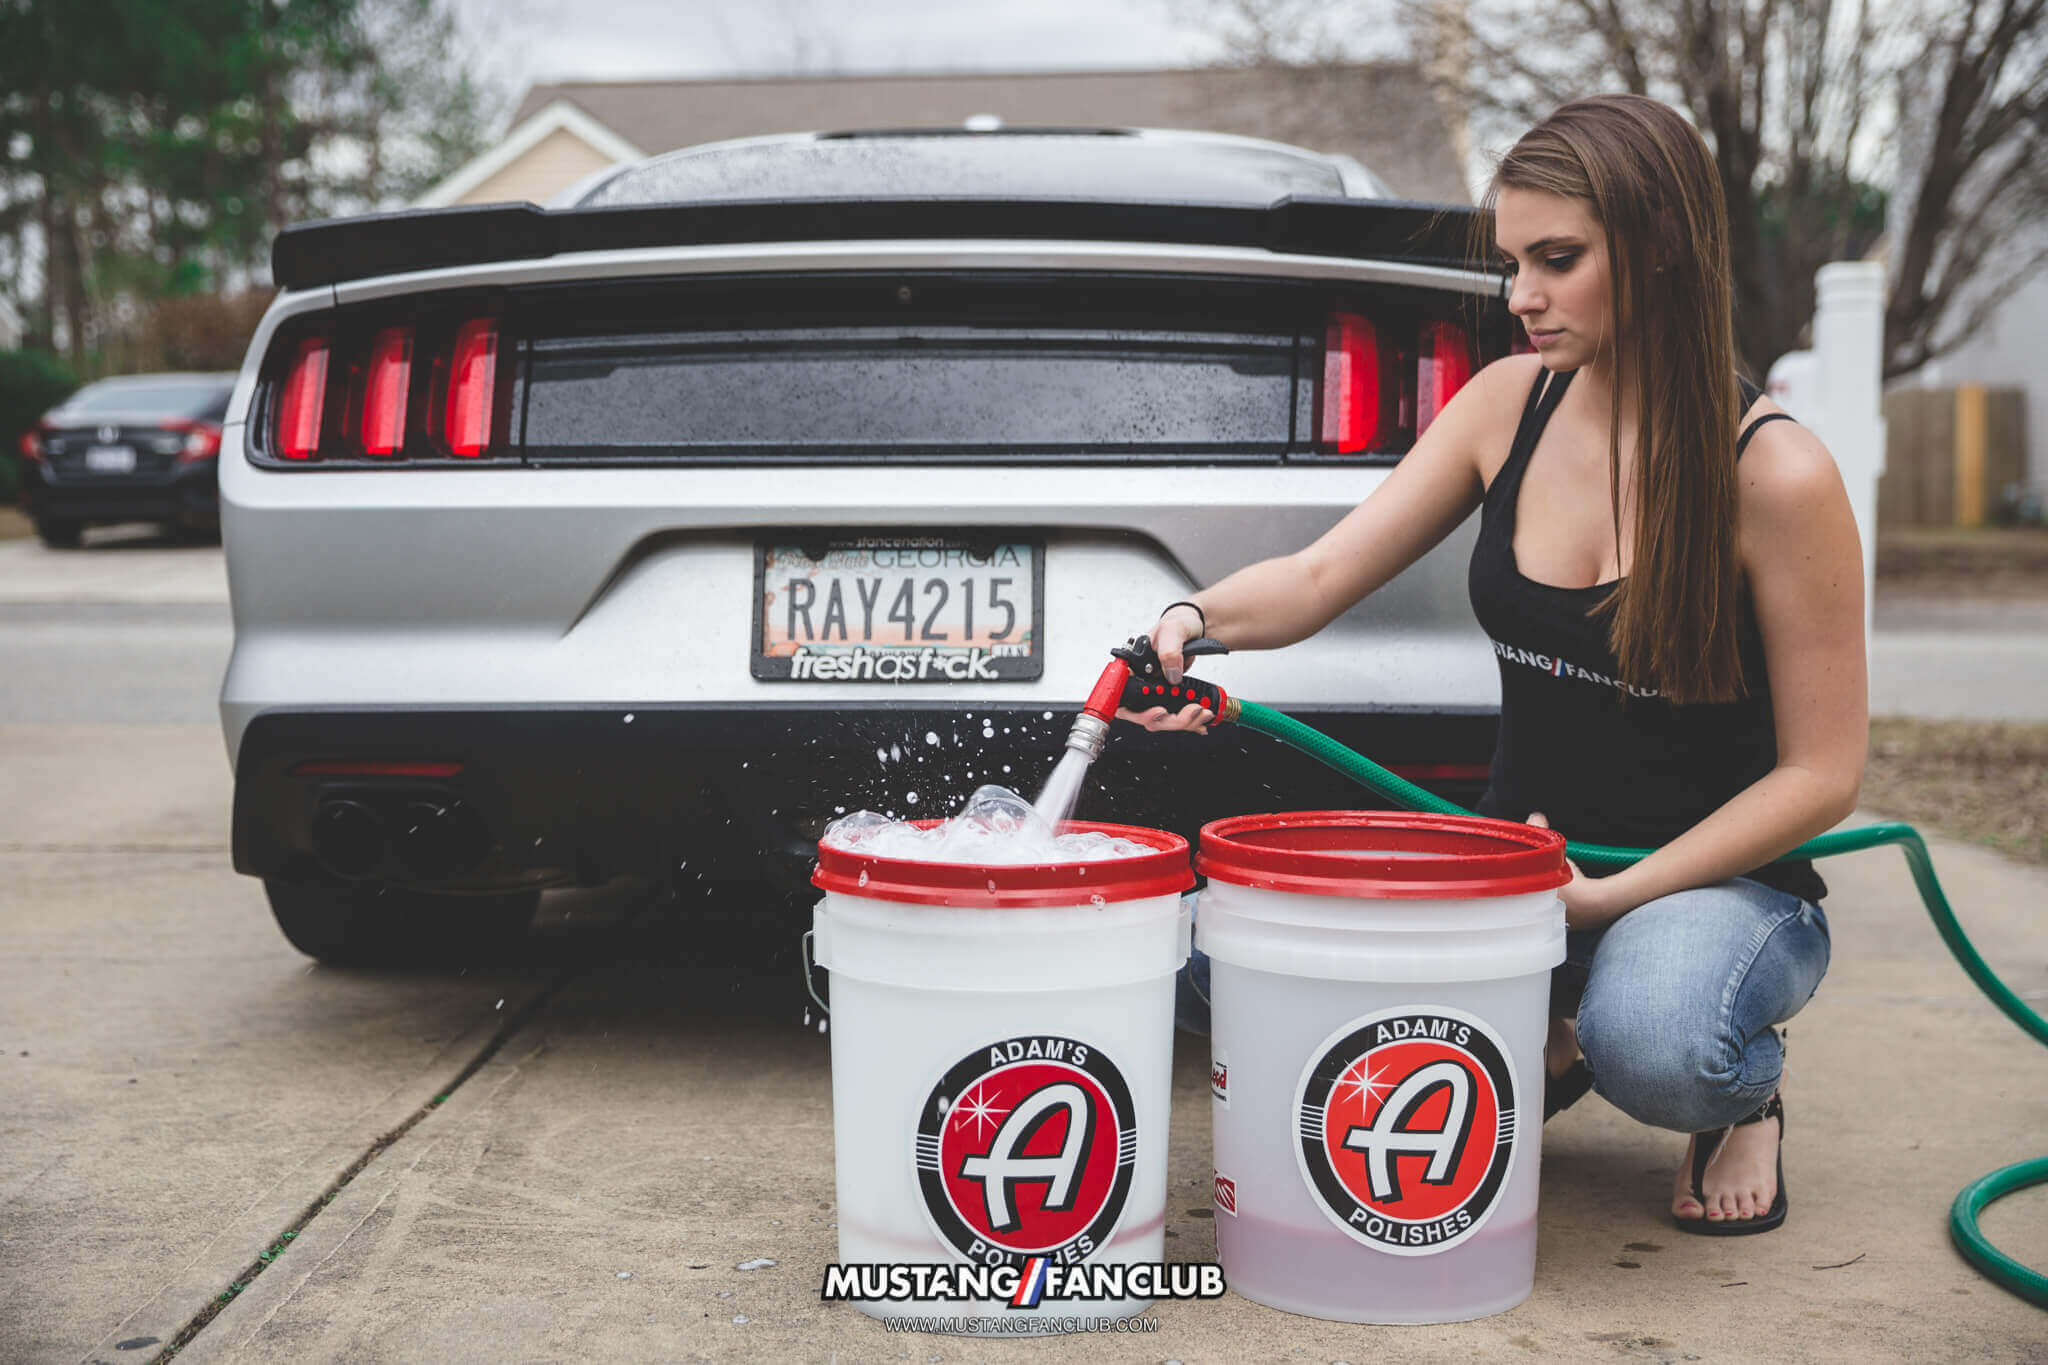
Step 1:
Fill two Adam’s 5 Gallon Detailing Buckets with water. Make sure you have a Grit Guard in the bottom of both buckets.
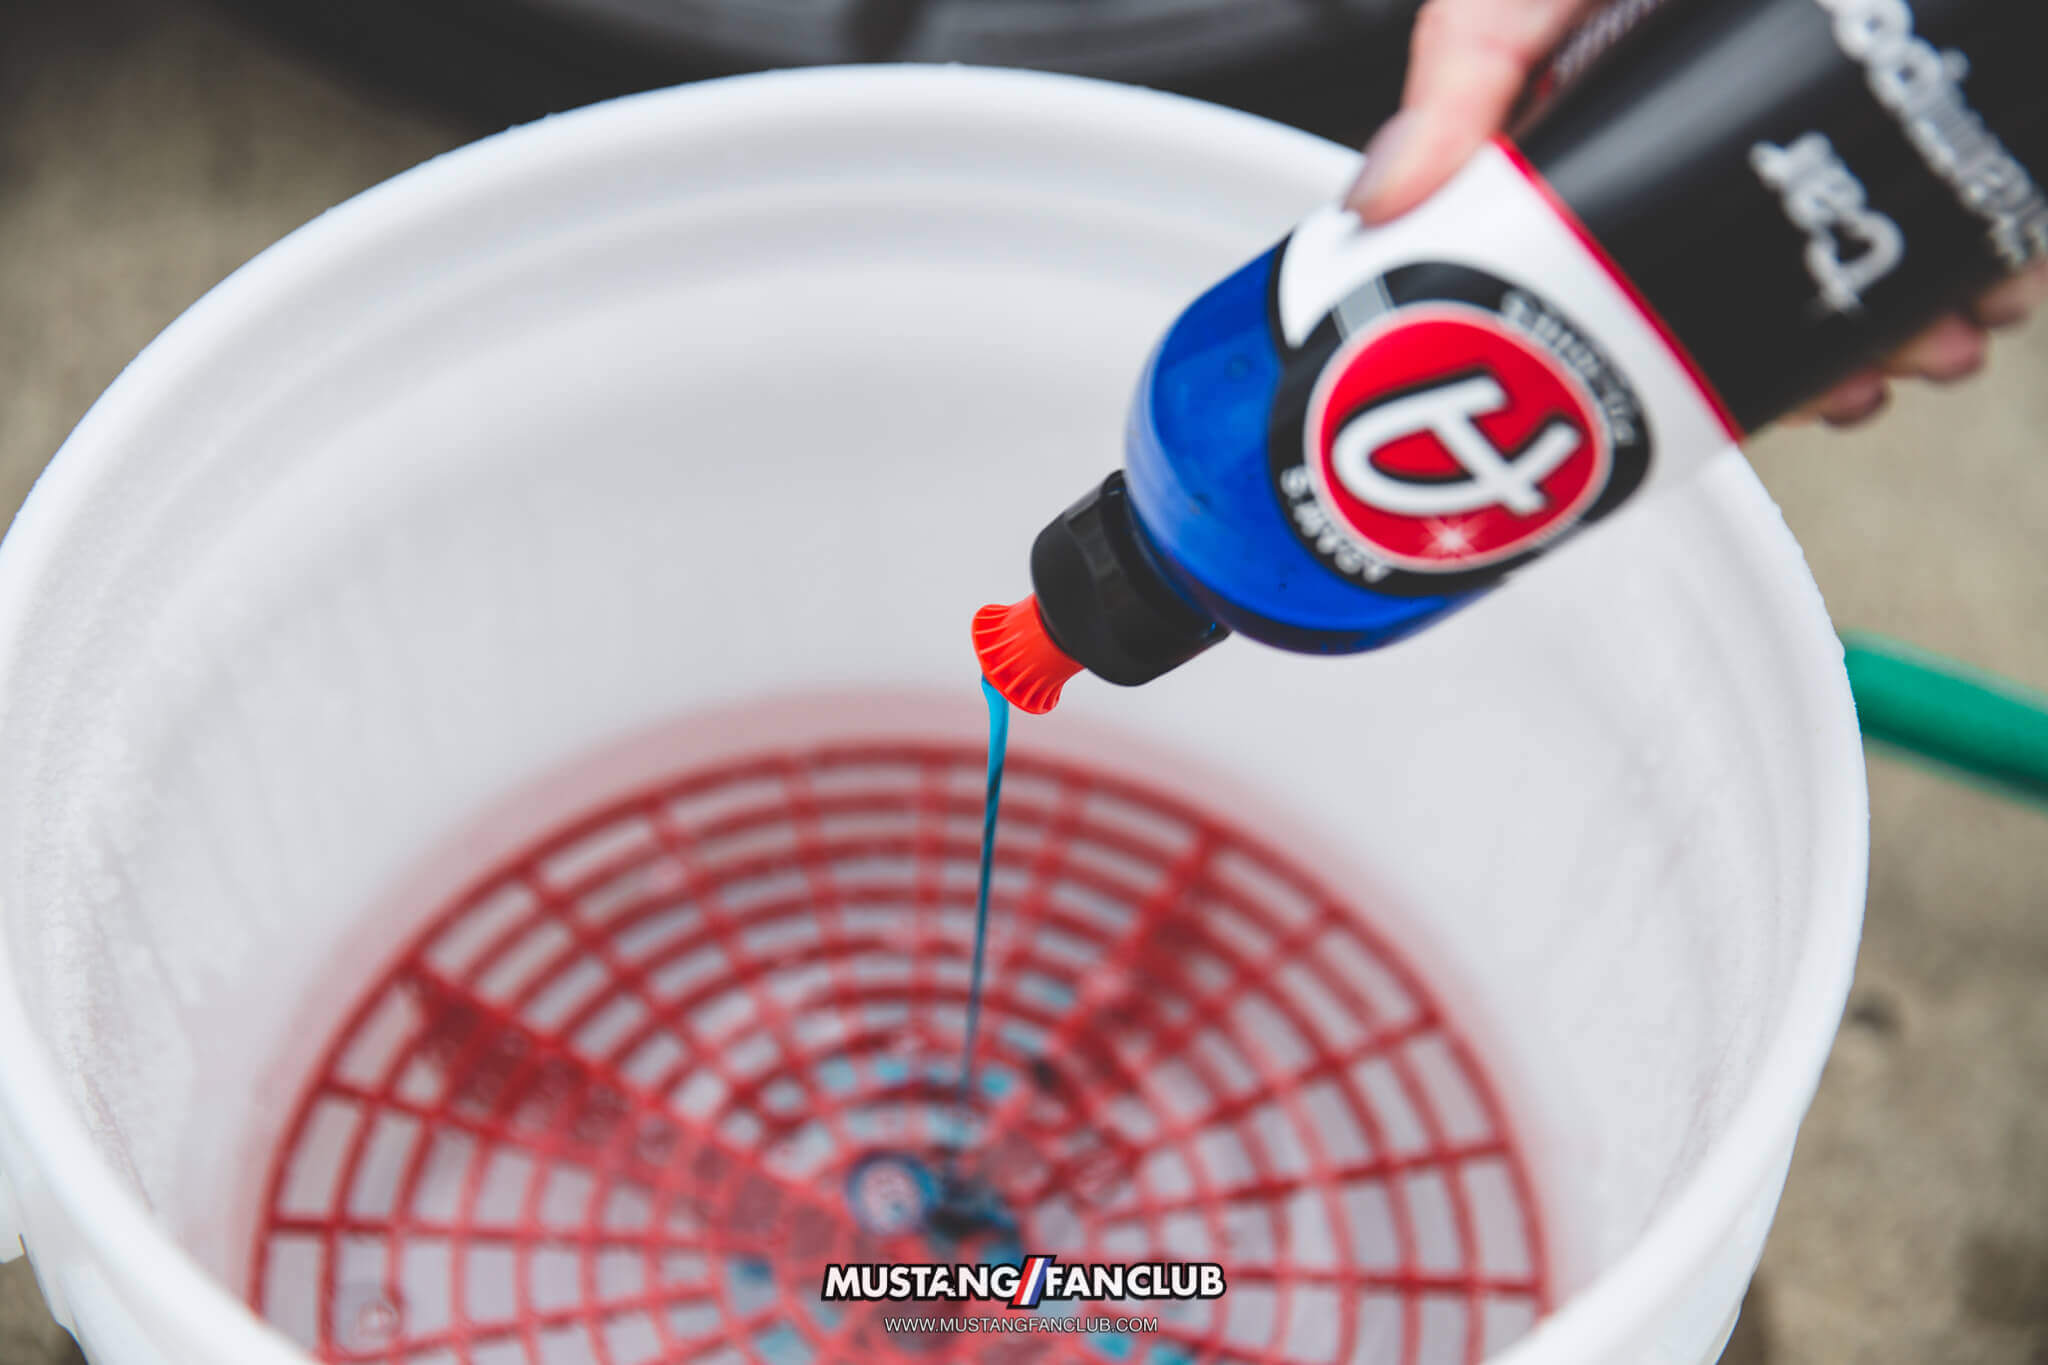
Step 2:
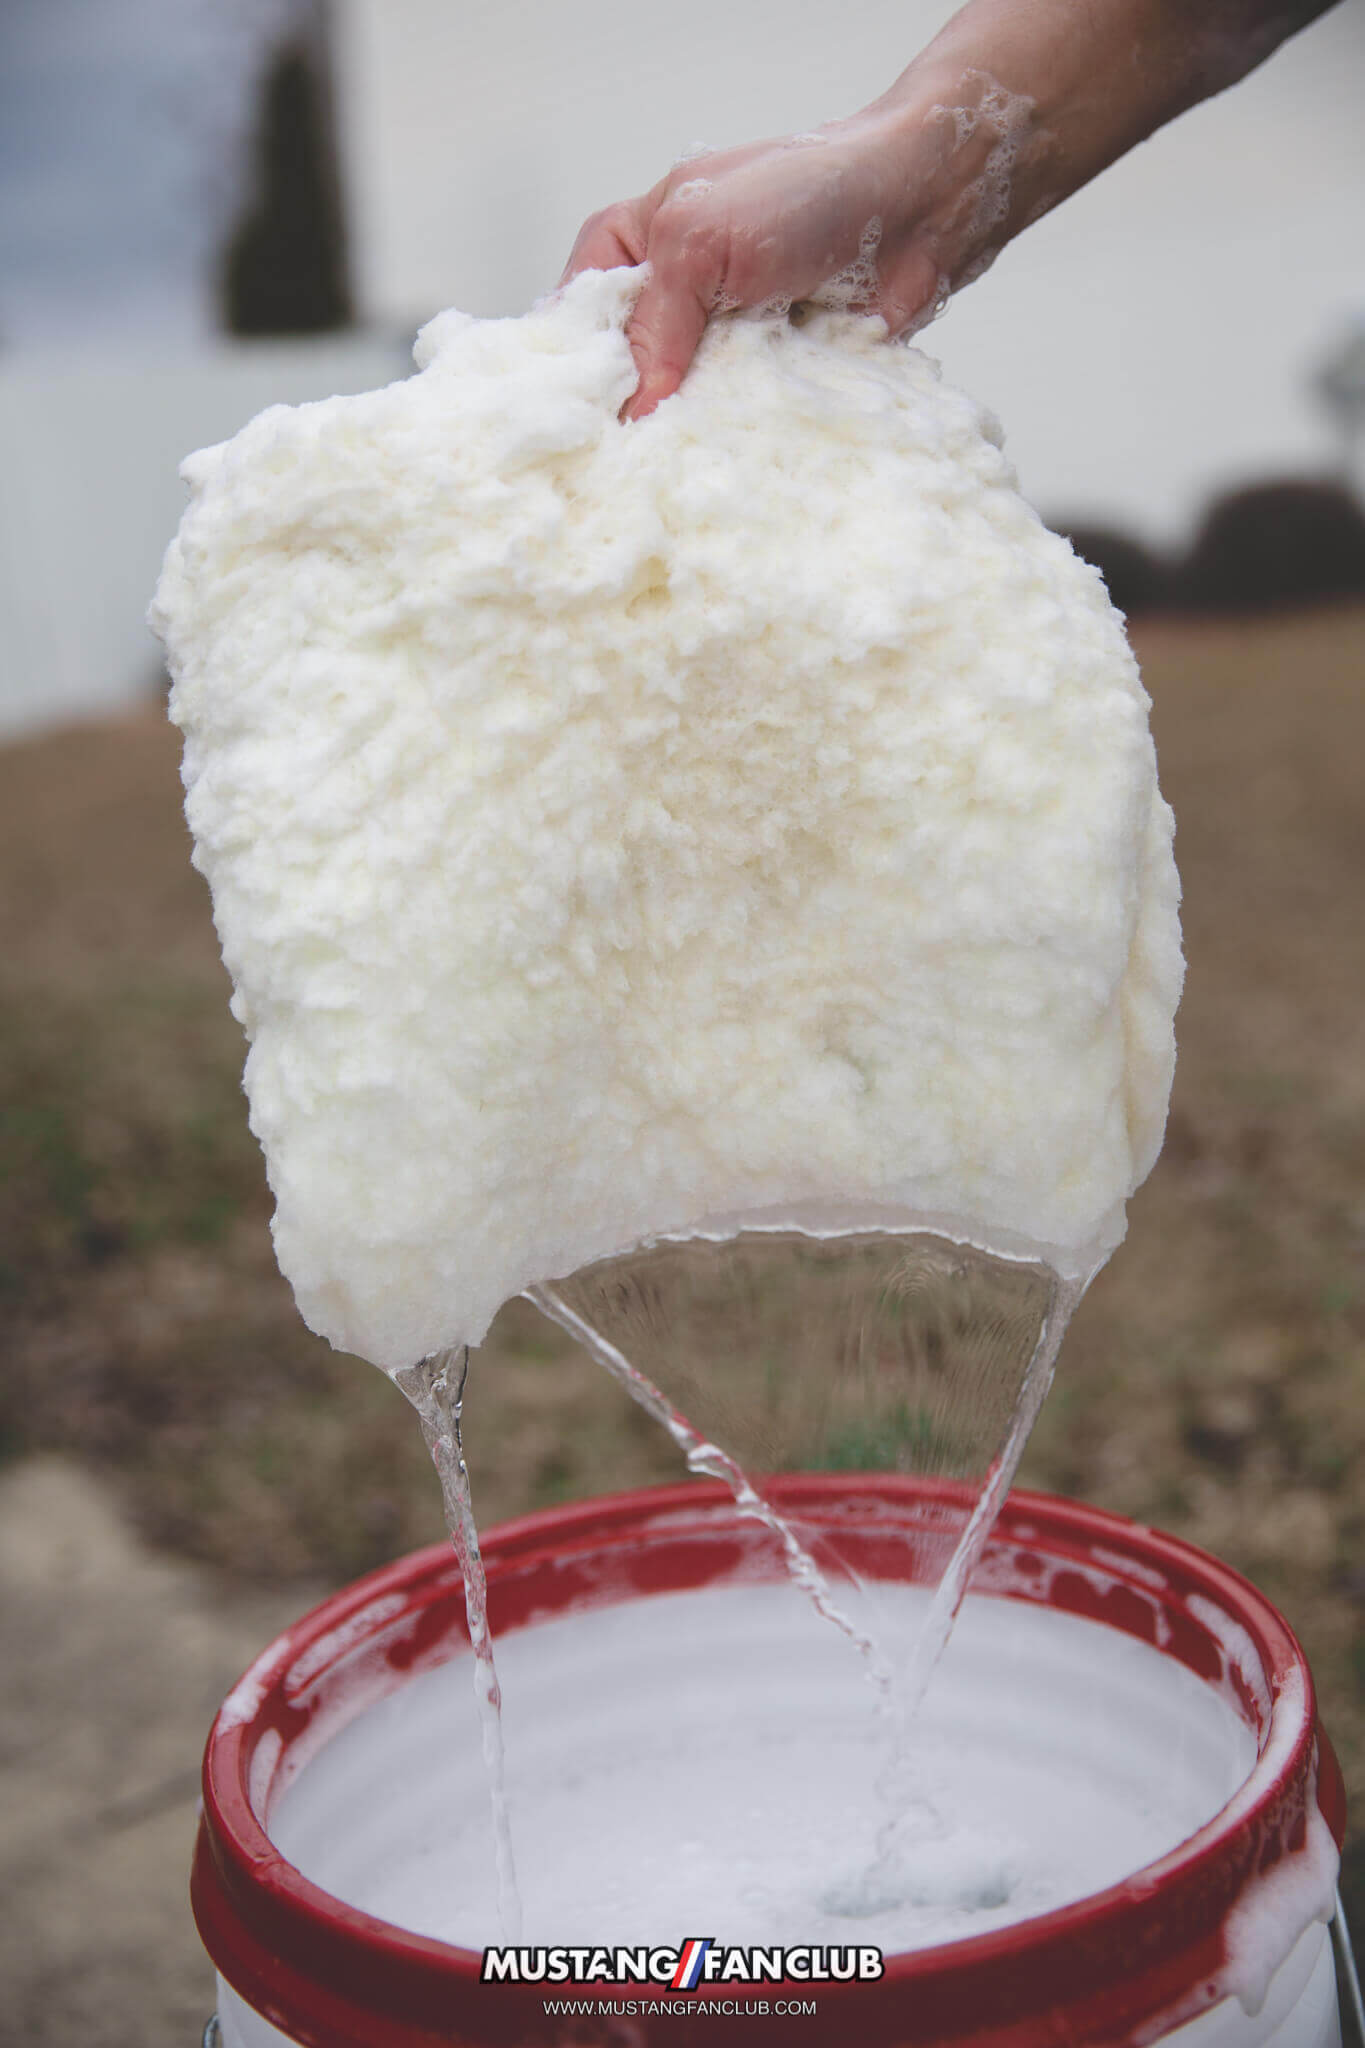
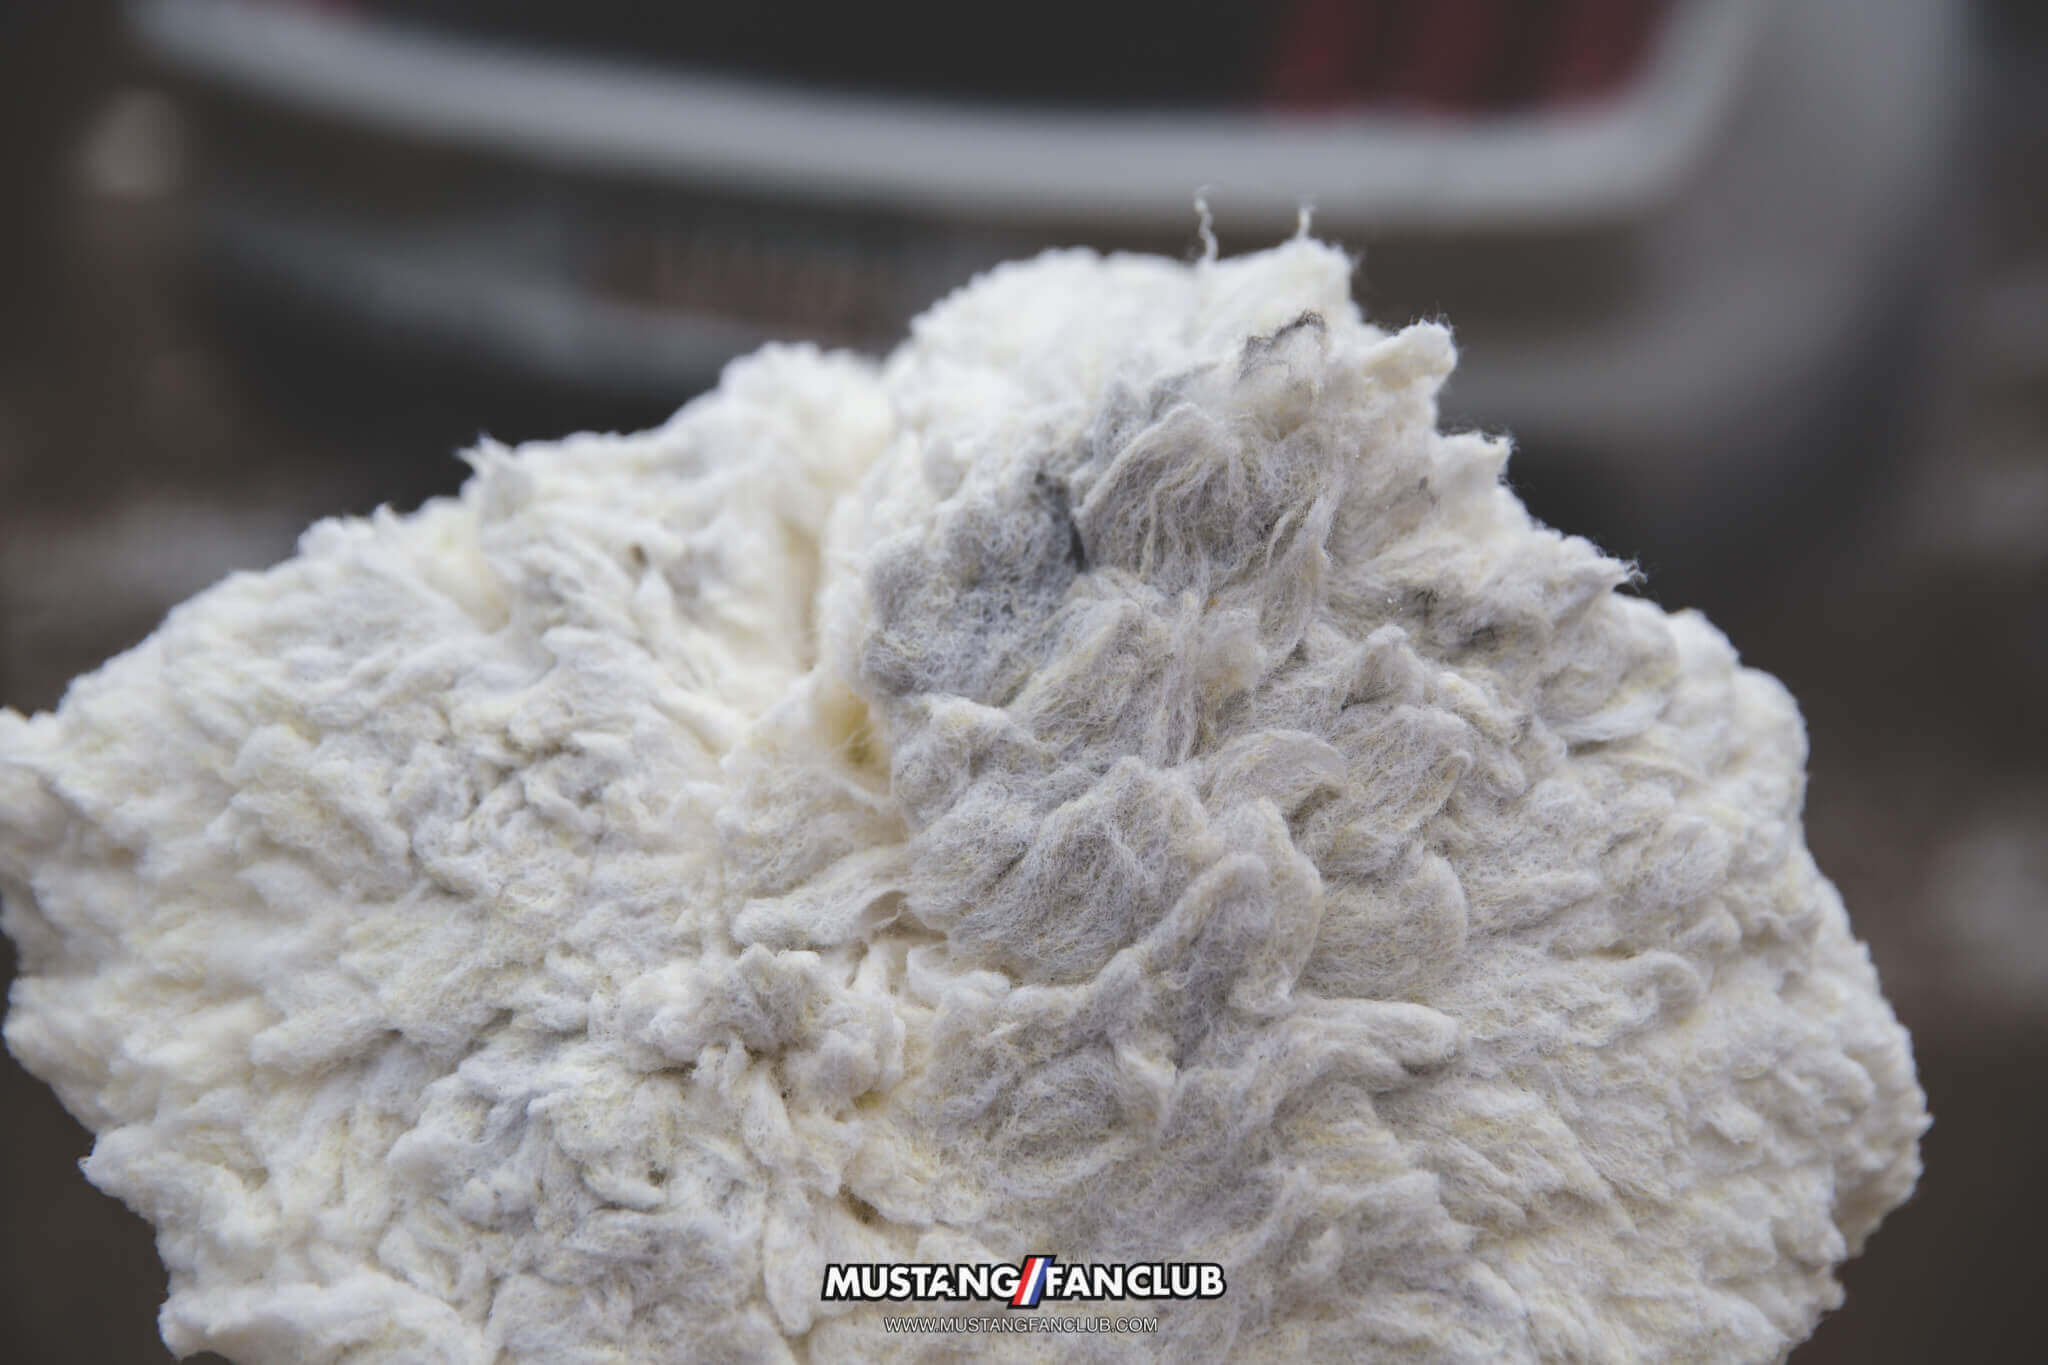
Add 2 – 3oz. of favorite Adam’s car washing products such as Adam’s Car Wash Shampoo, Adam’s Wash & Wax or Ultra Foam to one of your buckets with a 10″ Car Wash Pad. We like to place the Wash Pad in the bucket of water, along with some shampoo on top, to mix the soap and water. This allows the two to blend together easily without creating a layer of foam on top.
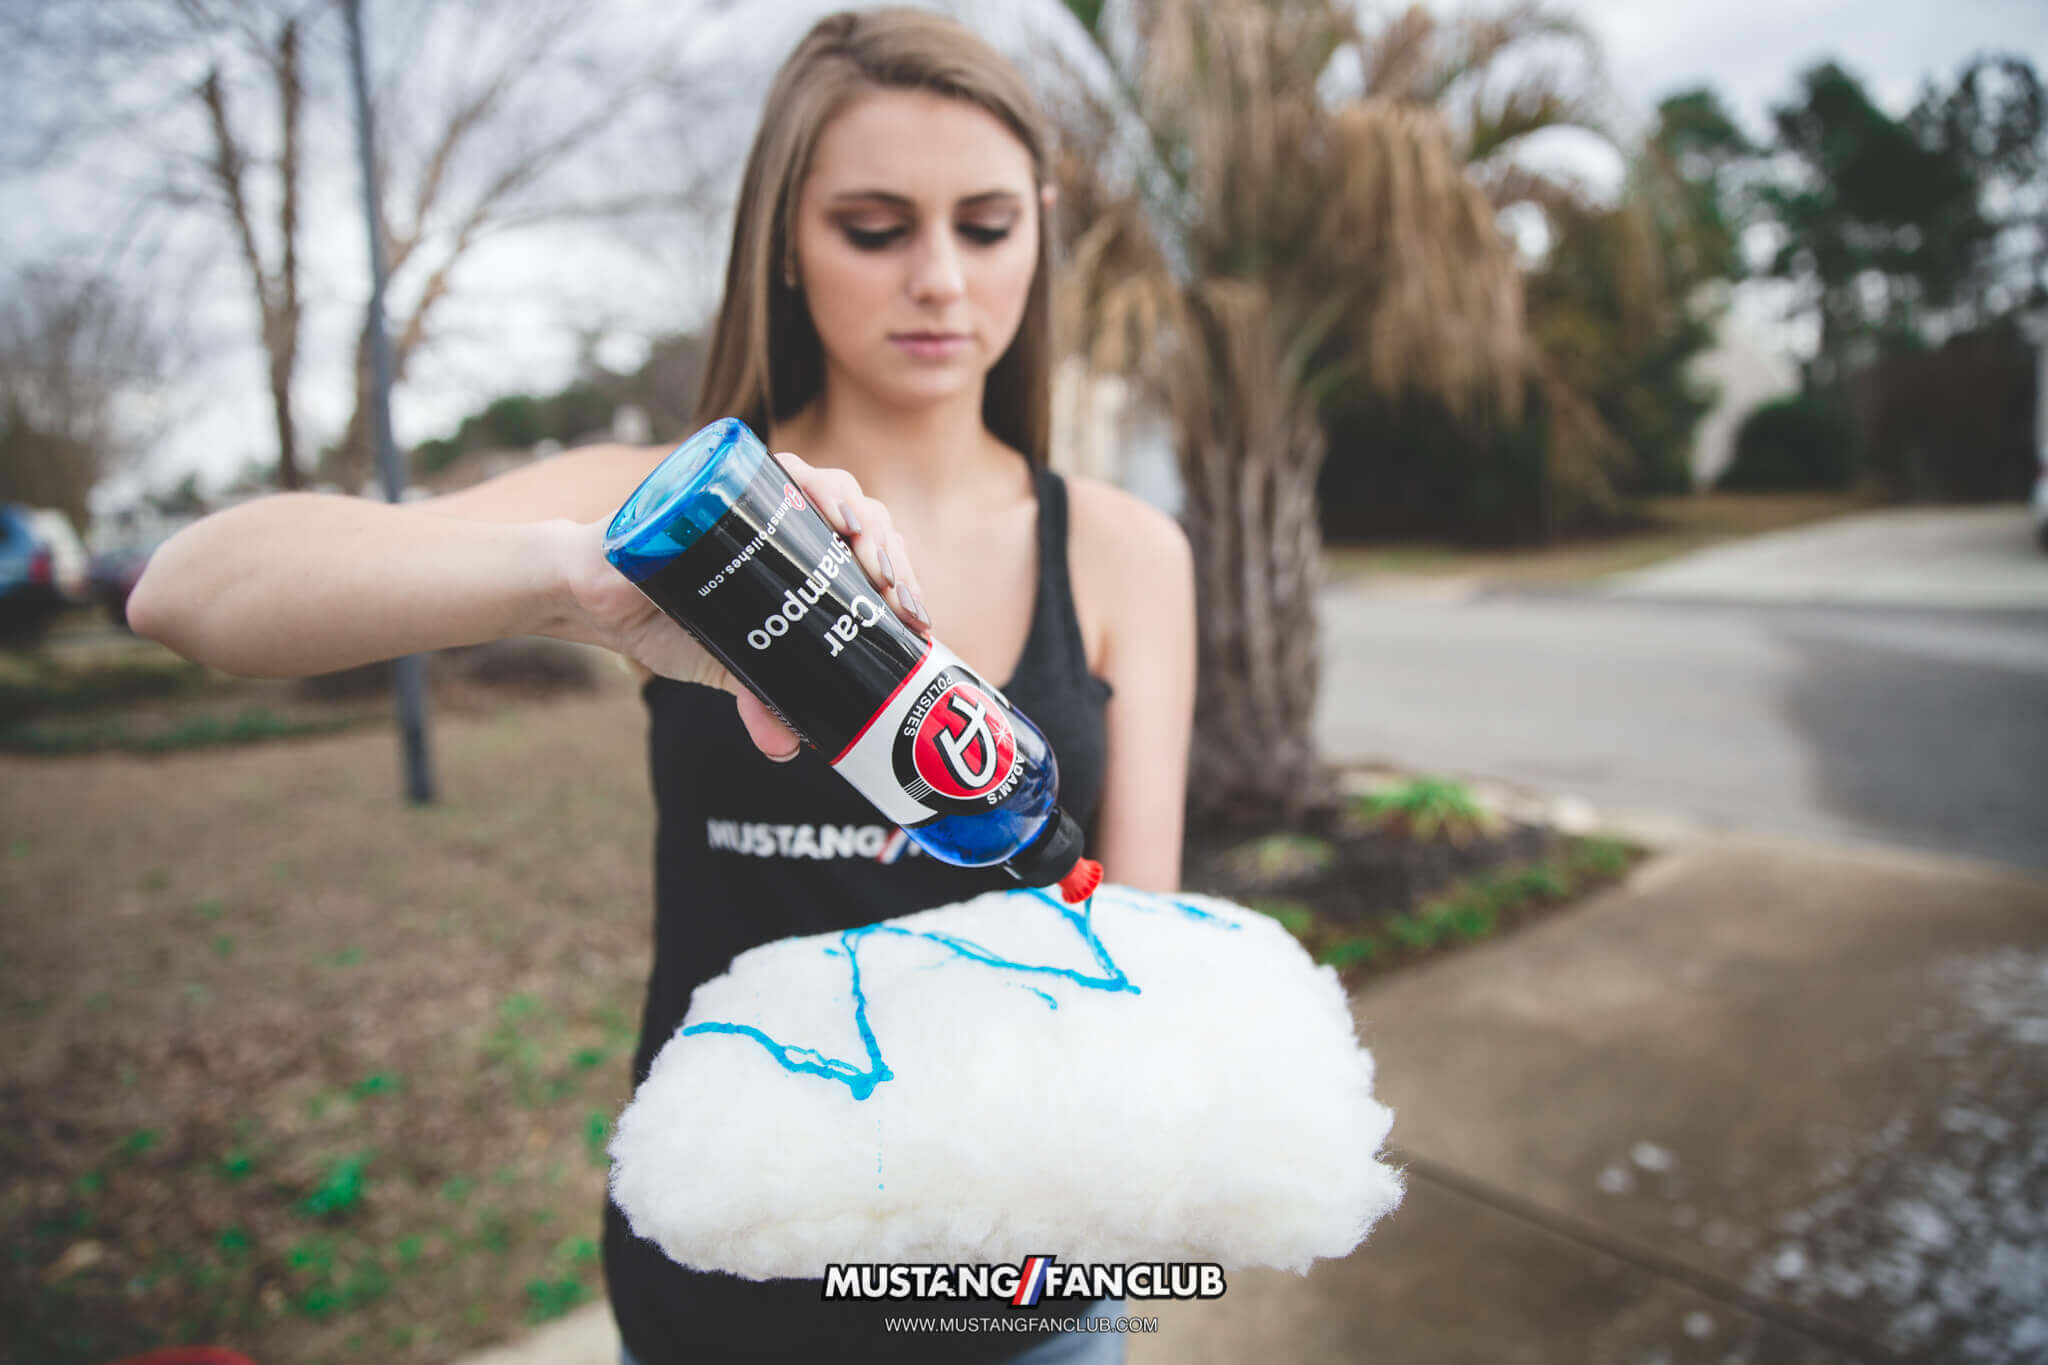
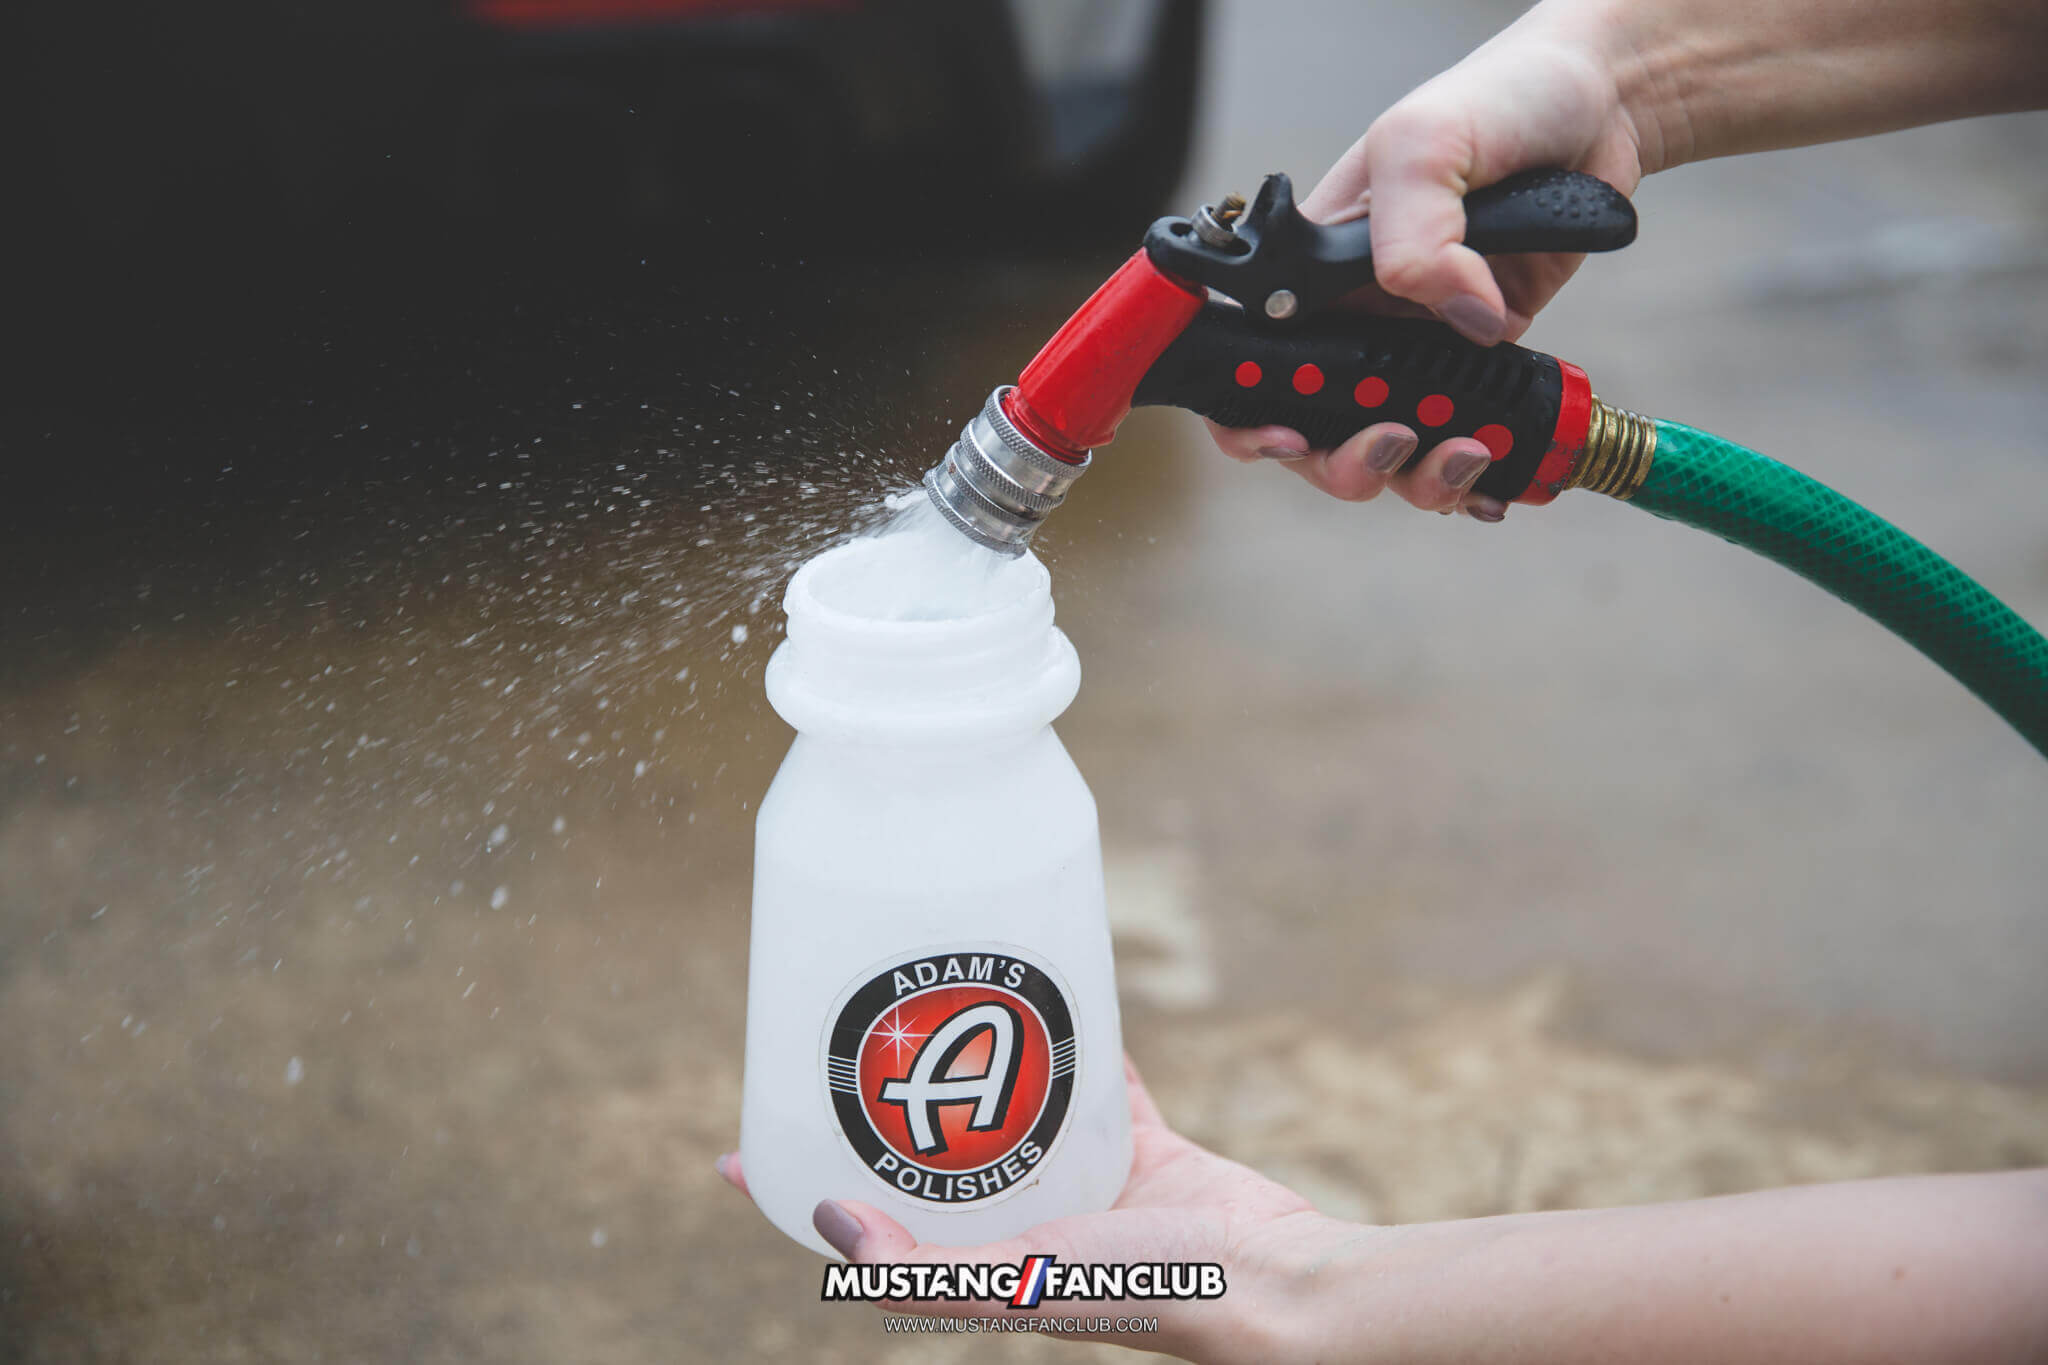
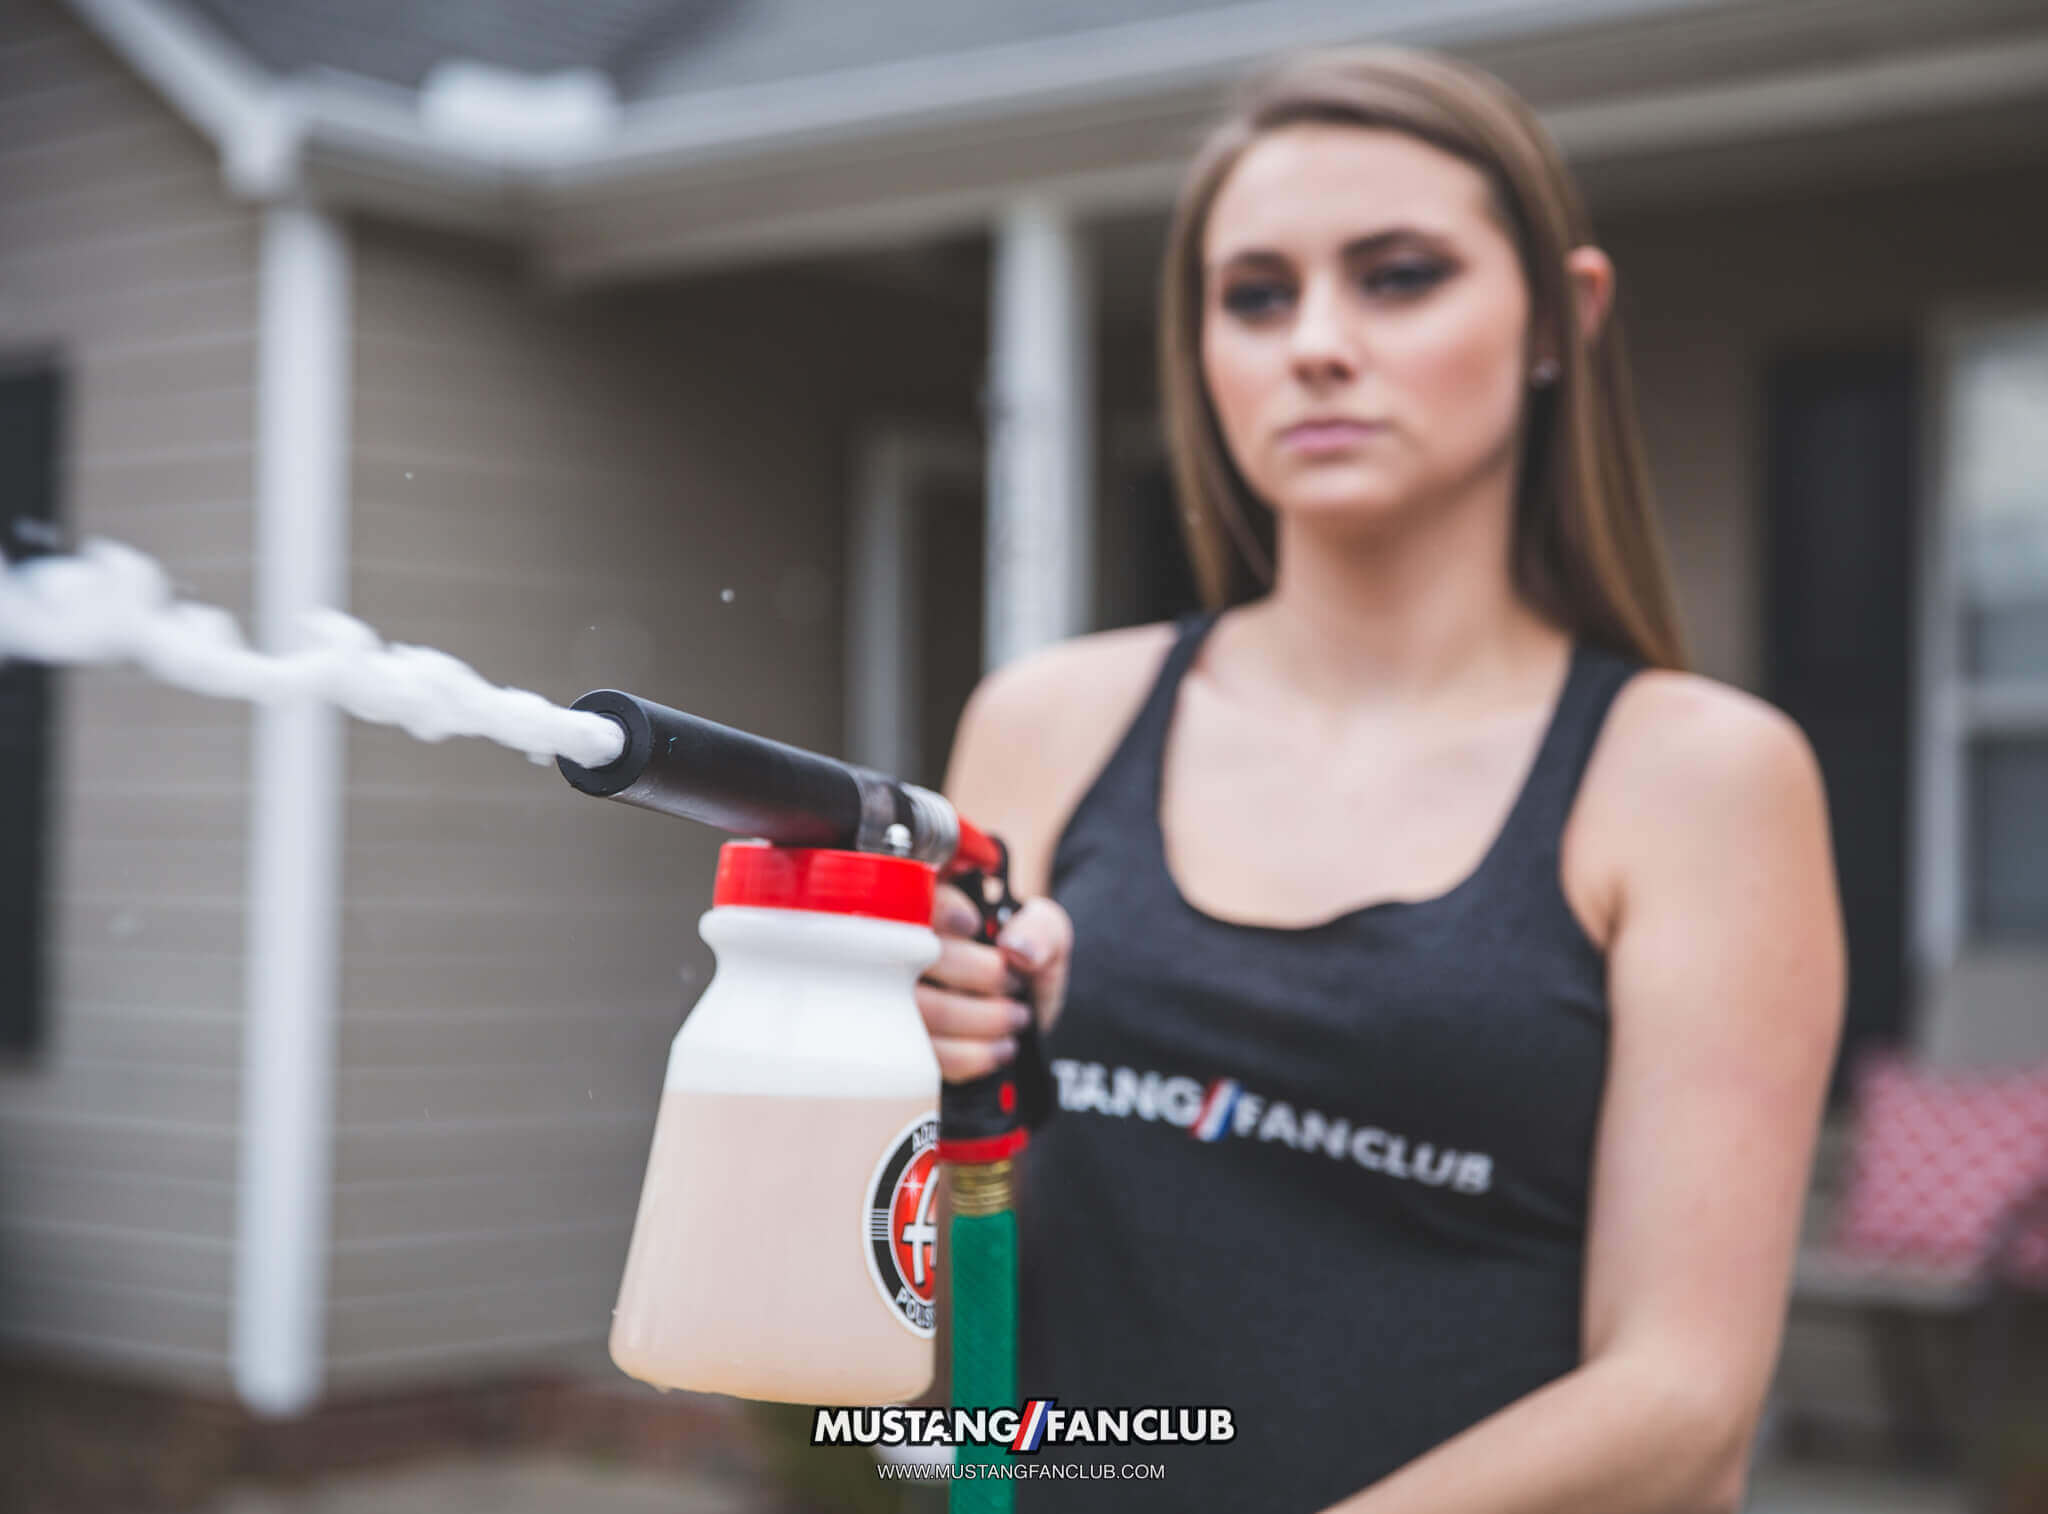
Optional Step:
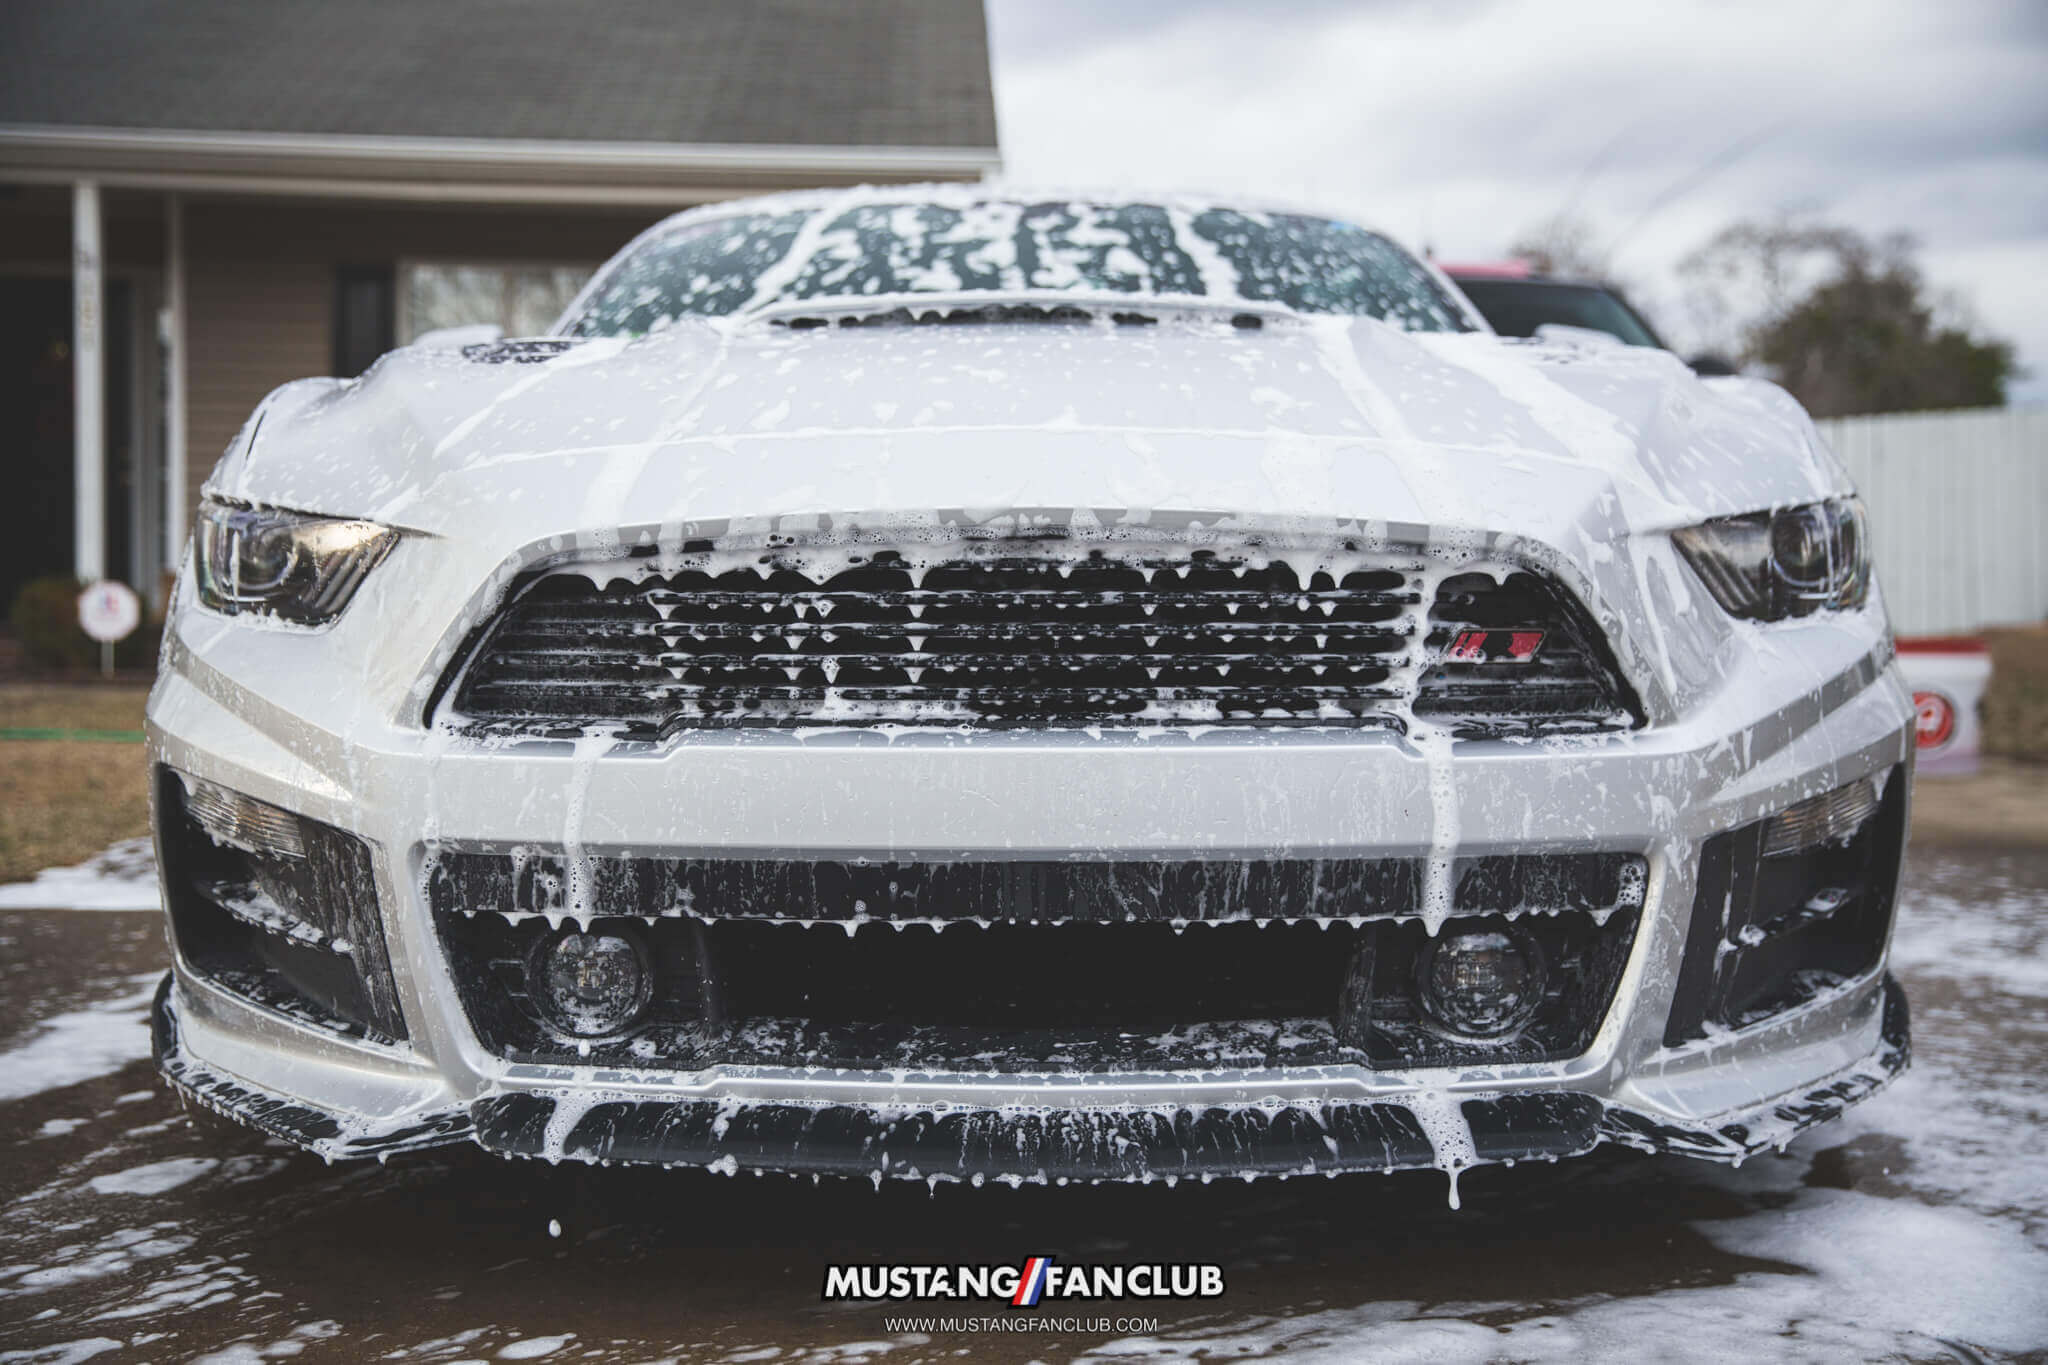
Fill your Adam’s Premium Foam Gun (or Adam’s Foam Cannon if you are using a pressure washer) full with water and 3oz of Adam’s Ultra Foam Shampoo or Adam’s Car Wash Shampoo (we used Adam’s Wash & Wax).
If you are using a Foam Gun or Foam Cannon, now is the time to pre-soak your Mustang!
Step 3:
Thoroughly rinse your vehicle (from top to bottom) with water using an Adam’s Spray Nozzle. Make sure you are focusing more on the higher dirt build up areas, such as the lower sections of your Mustang and specifically the rear bumper!
It is very important to be mindful of where dirt and debris accumulates on your Mustang. On our S550, the rear bumper, deck lid and lower portion near the side skirts collects the most dirt. So with that in mind, we want to focus on those areas last to keep our Wash Pad as clean as possible while we are cleaning the rest of our Mustang.
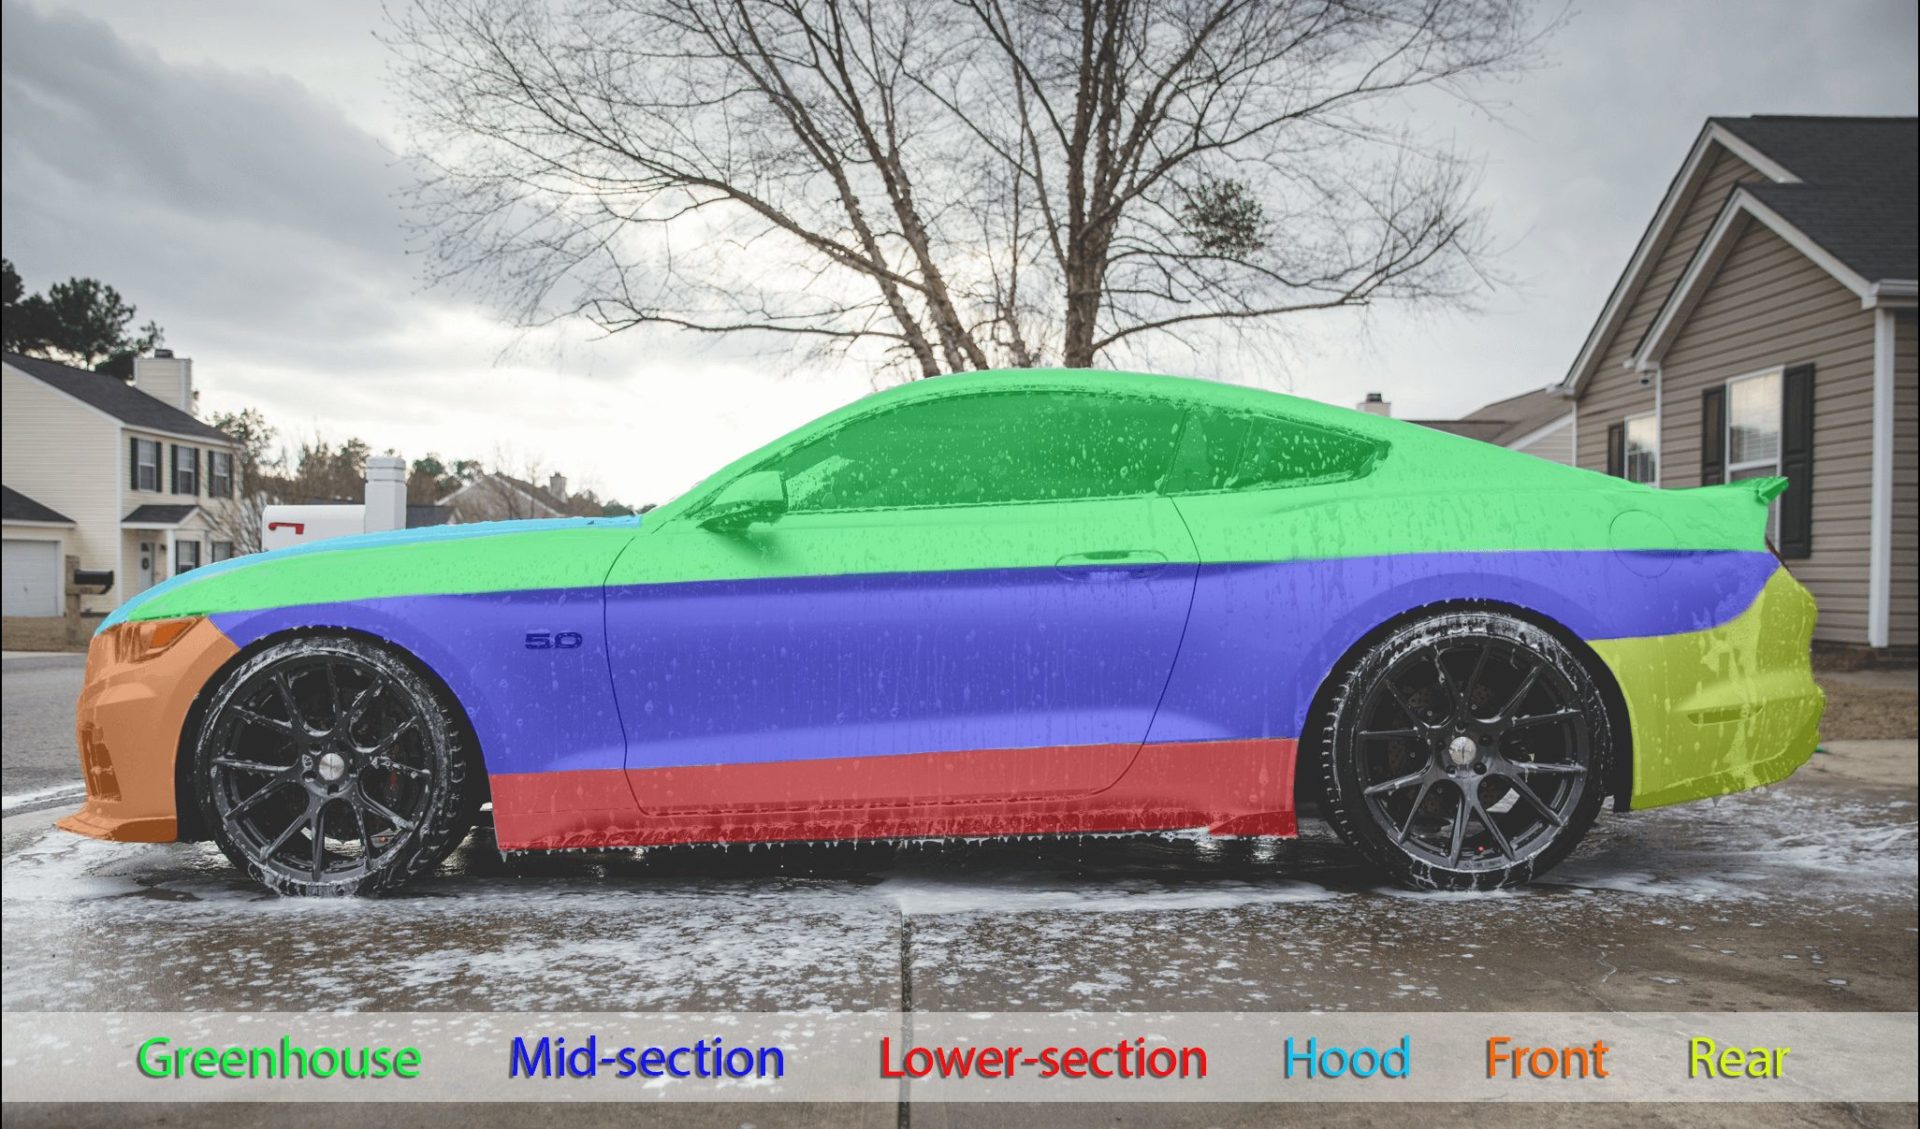
Dividing your car into sections based on where the dirt builds up is the best way to keep your Mustang scratch free! Check out the image below to see how we break up our S550 into sections during the washing process. We will be mentioning these sections in the upcoming steps so make sure you reference the below image if you don’t understand what we are specifying.
Step 4:
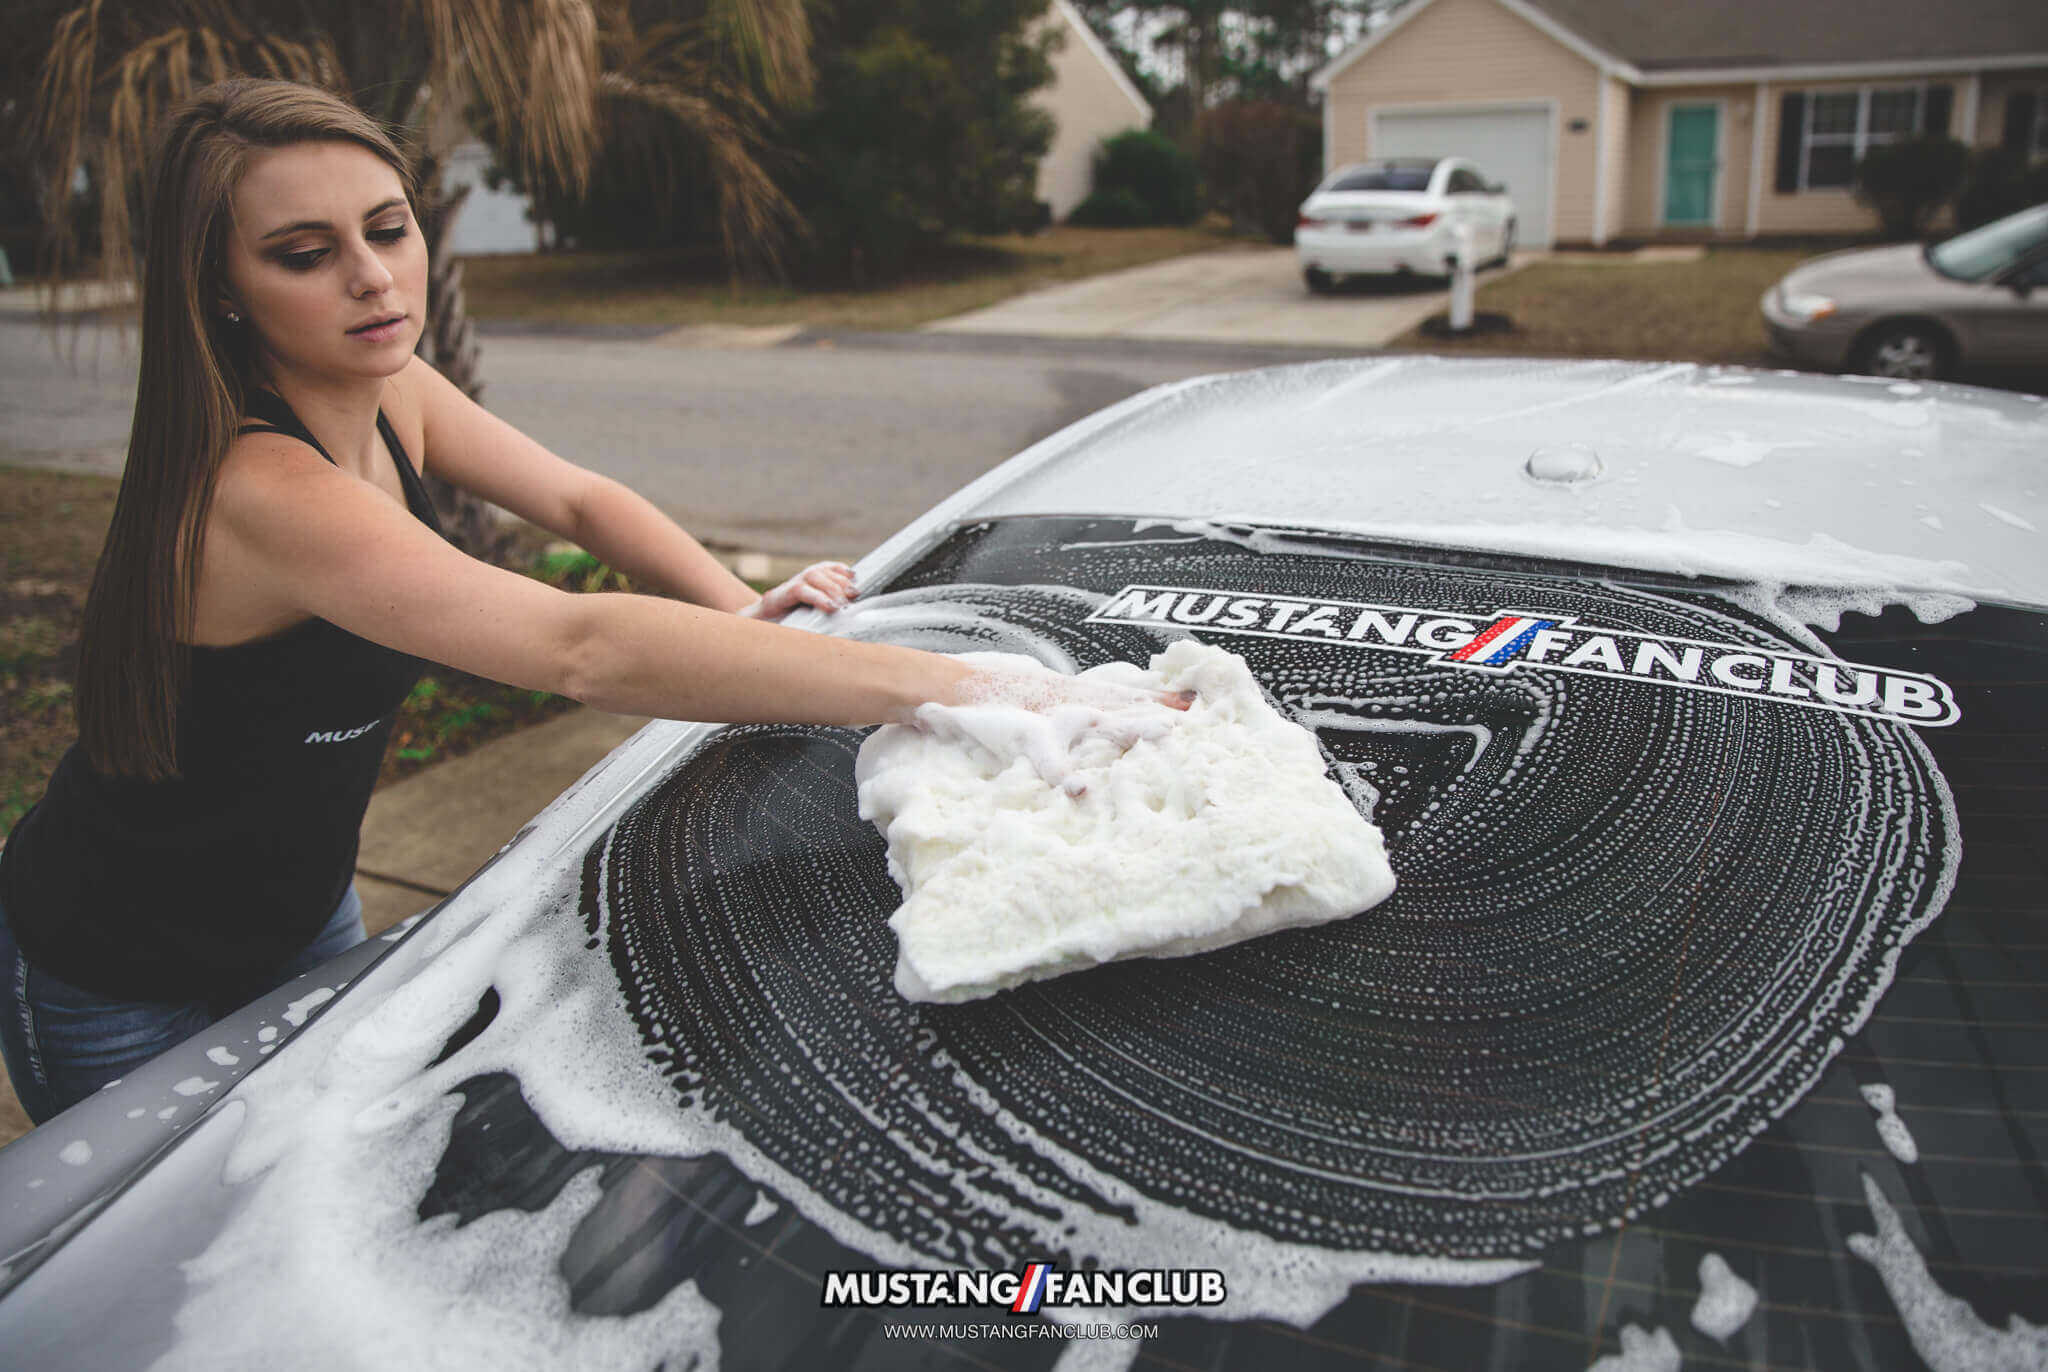
Always remember to start washing from top to bottom to minimize scratches. With that in mind, the best place to start with is the “greenhouse”. This includes your roof, windshield, rear glass and side glass. Take your 10″ Car Wash Pad and start wiping the top of your Mustang working in straight lines. Flip your Wash Pad over after each pass. Proceed to clean the windshield, back glass and side glass. We like to hit what we call the hips and shoulders of our Mustang during this process as well because of the minimal dirt accumulation in these areas.
Step 5:
After you have cleaned the greenhouse, rinse the area you just washed thoroughly and put your Wash Pad into your clean bucket of water and scrub it on the grit guard. The grit guard will remove the dirt and grime in your wash pad and allow it to be trapped at the bottom of the bucket so you’re not picking up all of that debris each time you dunk your wash pad back into your buckets. REPEAT this process after each section you have washed!
Put your Car Wash Pad back into your soap bucket and scrub it against the grit guard to ensure no contaminants are on the wash pad. Move the buckets over to the next section of your Mustang you will be washing.
Step 6:
We recommend washing your hood next. The reason we recommend washing your hood next is because your front bumper can accumulate road or bug debris that you want to stay away from. Repeating the same steps previously, you want to make sure your Wash Pad has been thoroughly rinsed and lathered up with fresh soap. We like to imagine the hood is cut in half and just do one half at a time while moving our Wash Pad in straight lines and flipping the pad over when you go to the next side.
NO CIRCULAR MOTIONS! After the entire hood has been washed, proceed to rinse.
Step 7:
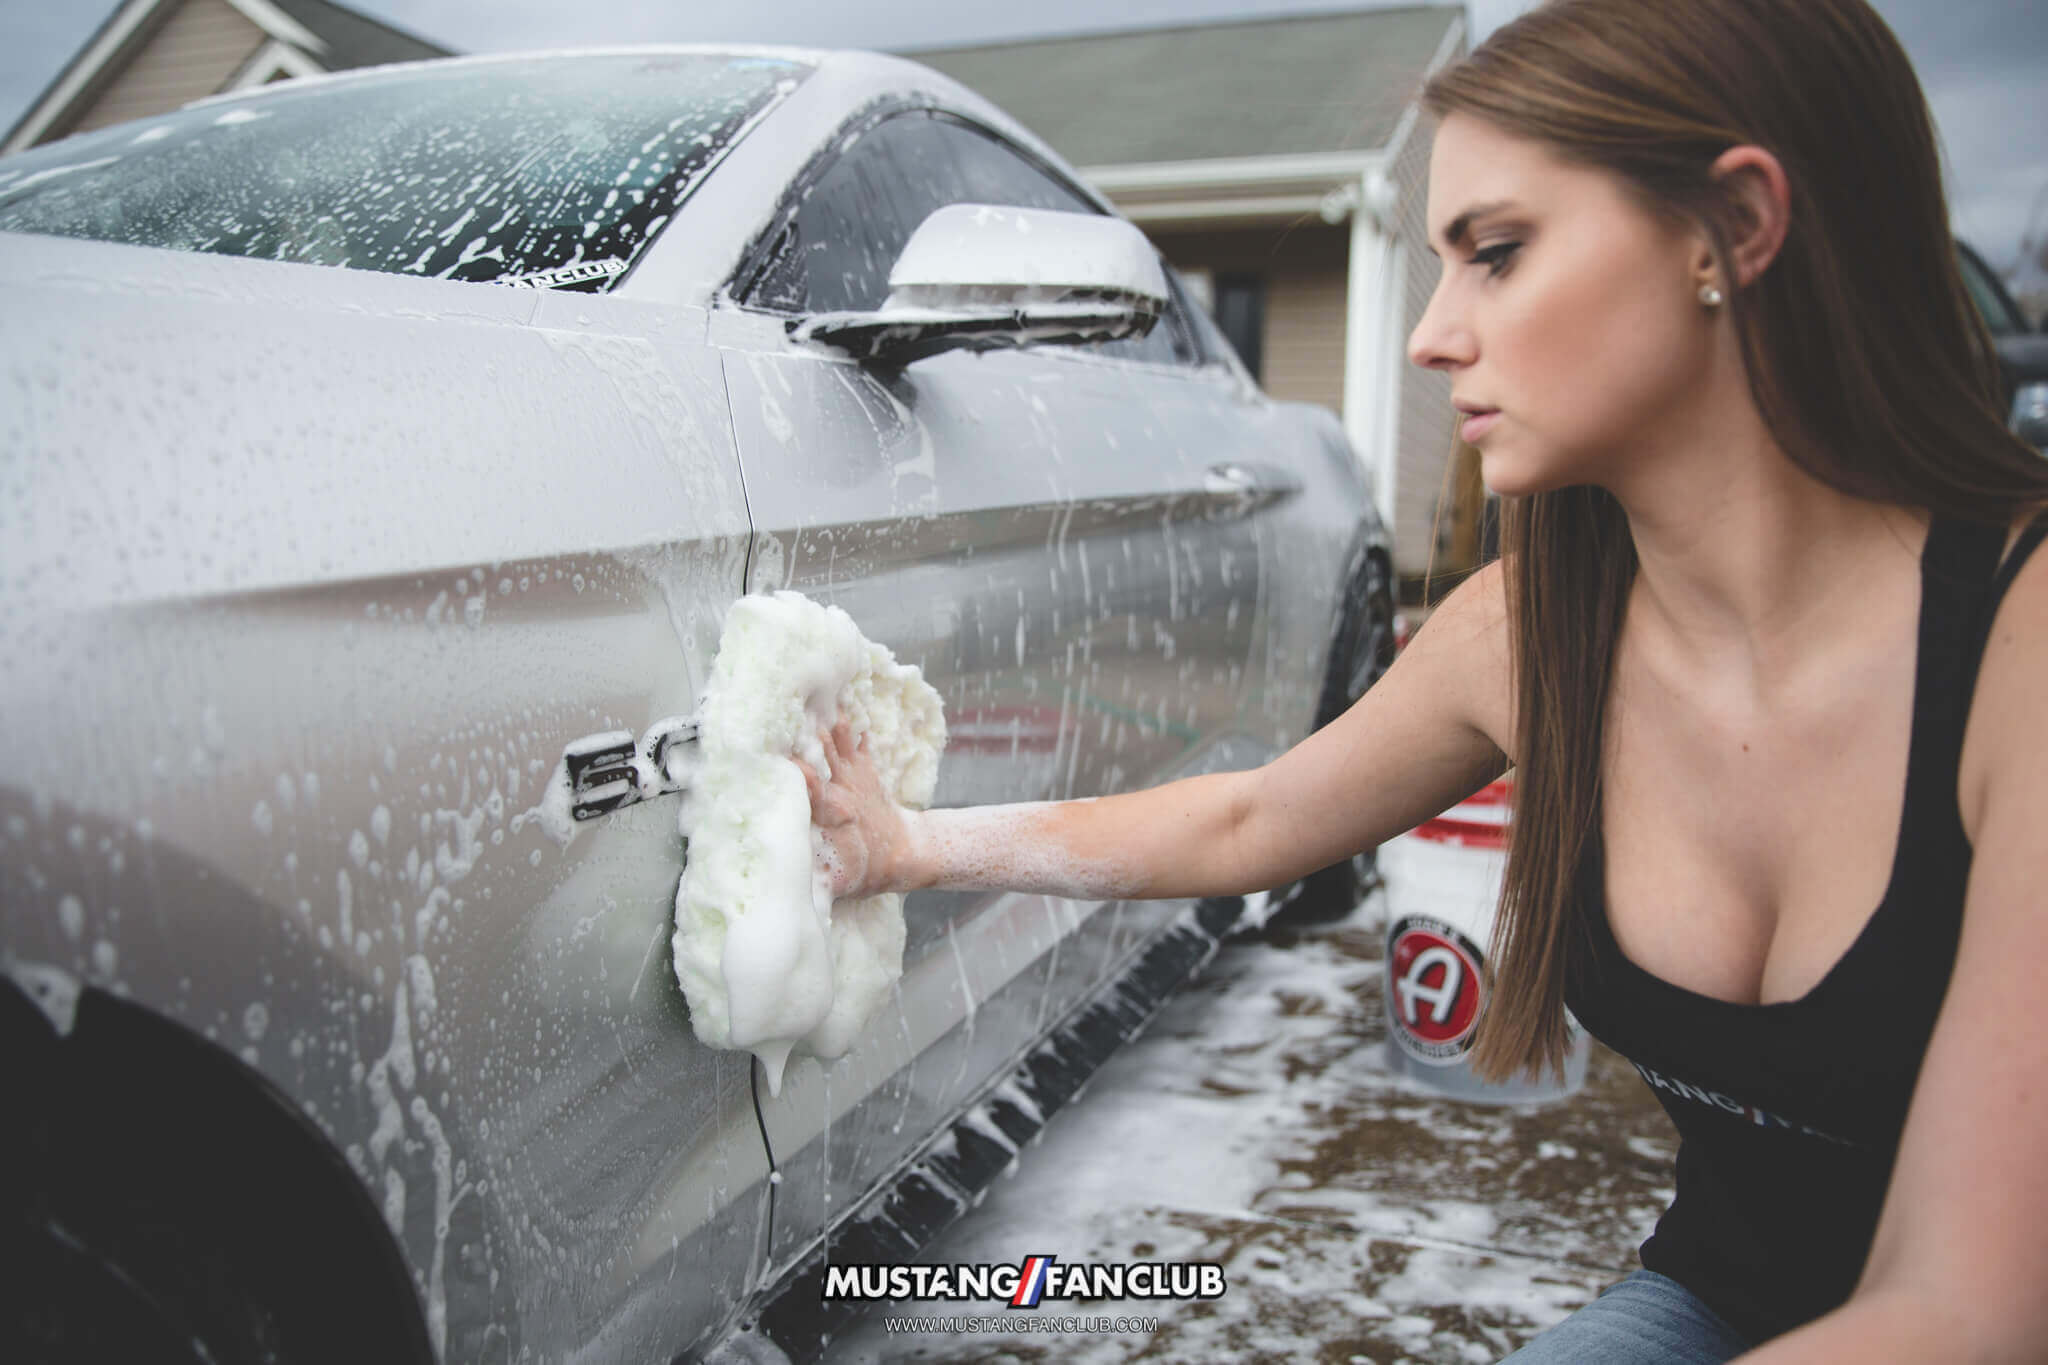
Now it’s time to wash the next section of your Mustang! The next area you will wash will be your mid-section. We recommend cleaning one side at a time. What we usually do is start washing the driver side mid section, rinse and once we have finished we dunk our Wash Pad into the rinse bucket. We then move over to the passenger side with both buckets. Place your freshly rinsed Wash Pad into the soap bucket and scrub it on the grit guard then proceed to wash the passenger side mid section and rinse.
The reason we do this is to prevent debris build up on the Wash Pad. Scrubbing your Wash Pad on the grit guards as often as possible reduces your chances of getting swirls and scratches.
Step 8:
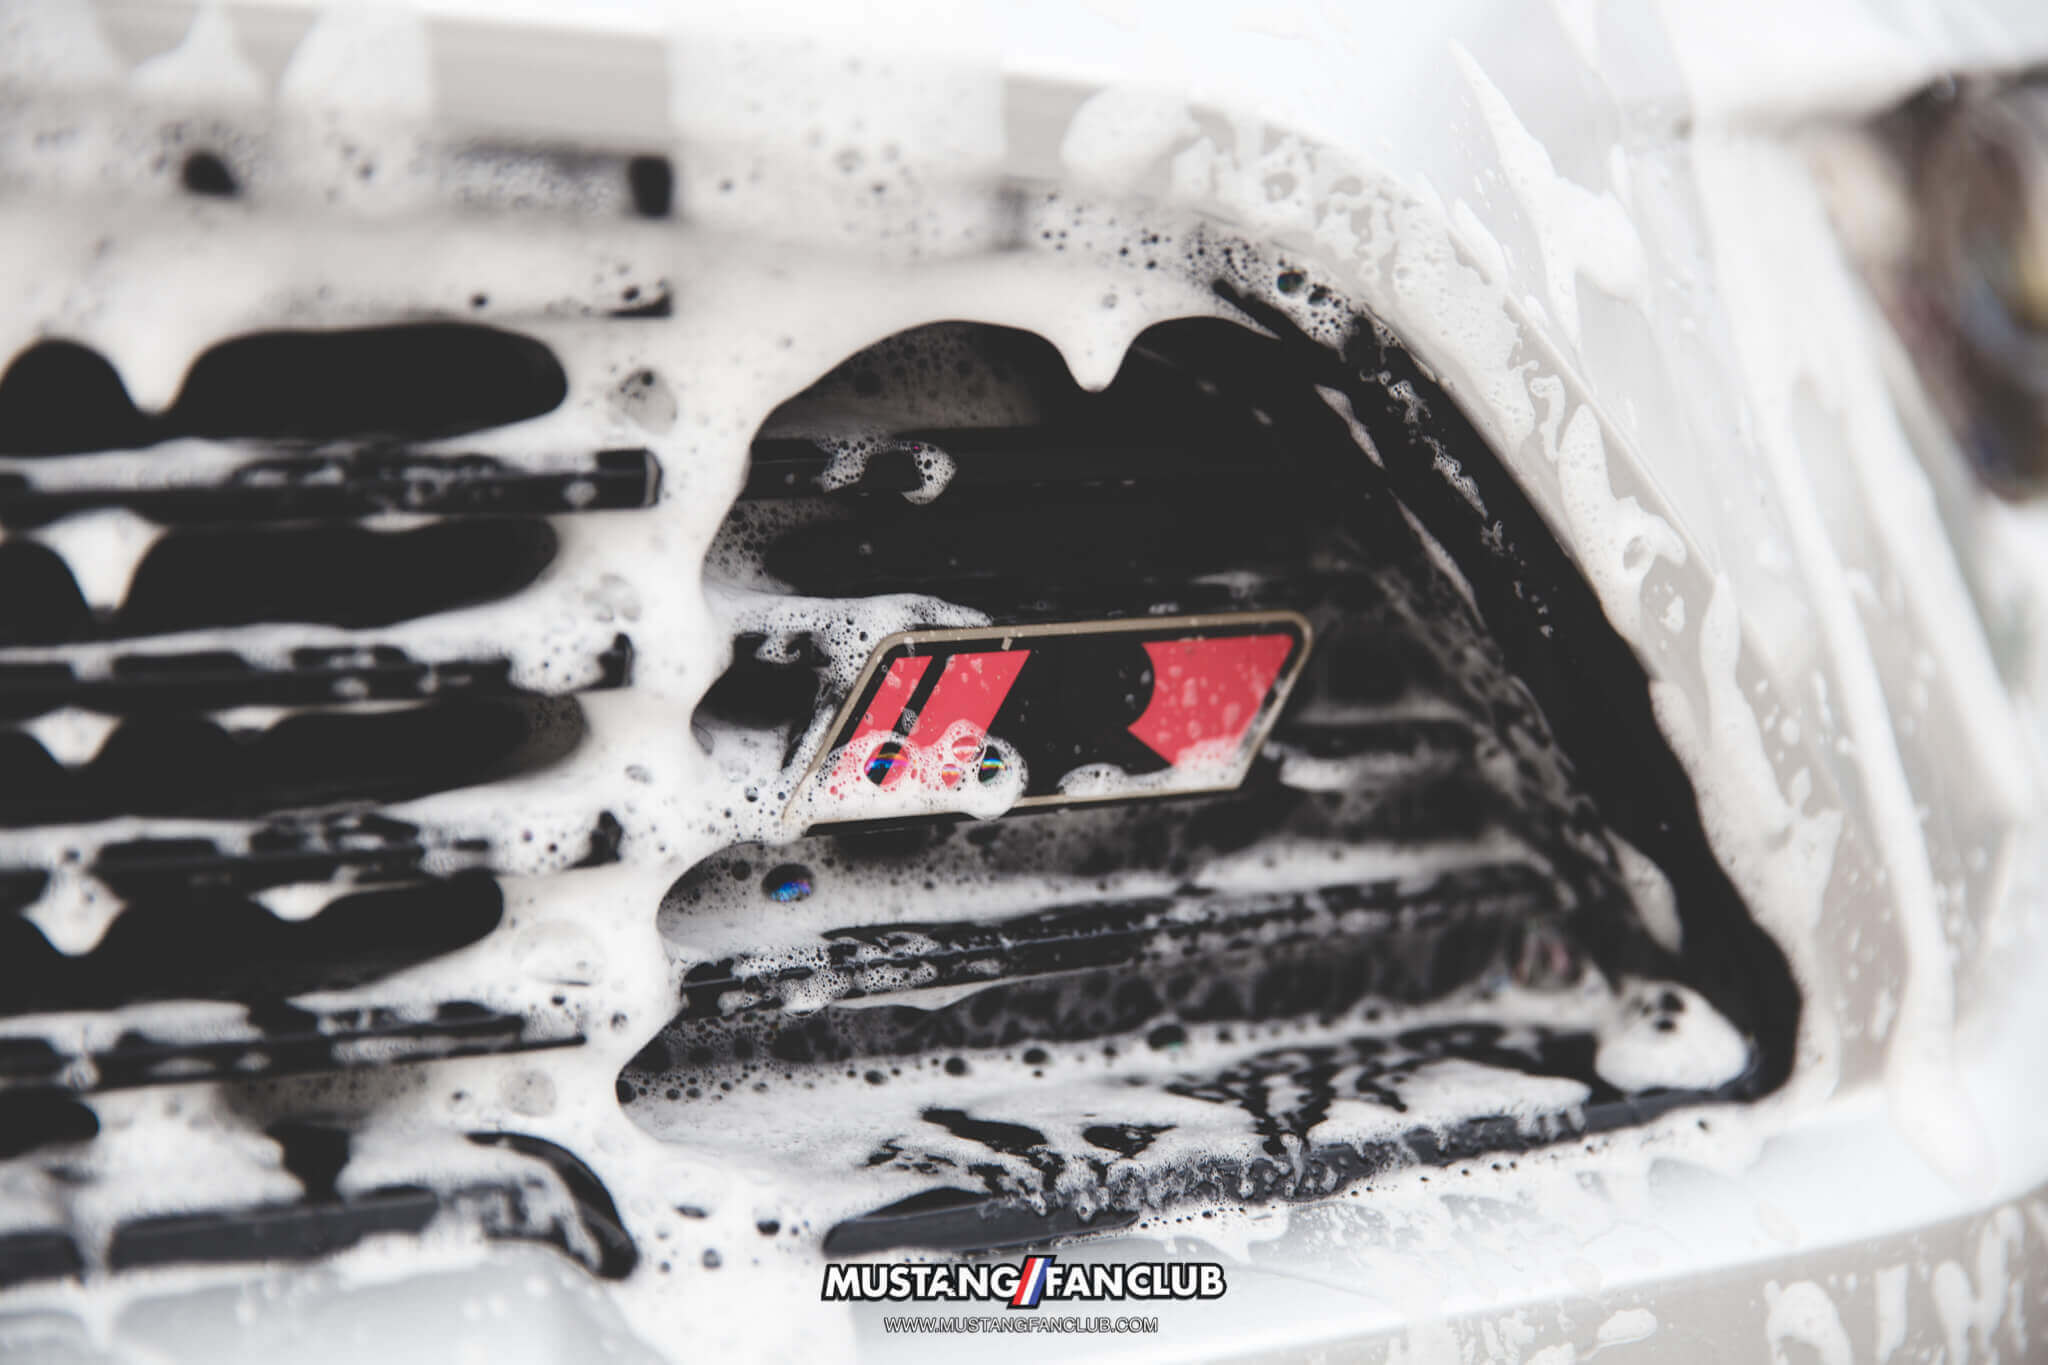
Now it’s time to get the dirtier parts of your Mustang. We like to wash the front bumper, lower section and rear bumper last because these have the most dirt and debris accumulation. Before you start washing your bumper, make sure you thoroughly rinse your front bumper off to get as much junk off of it.
Also, make sure you have rinsed your Wash Pad off and dunked it in some fresh soap! Proceed to clean your front bumper. Don’t forget your headlights and fog lights!
Step 9:
It’s time to knock out the lower section of your Mustang! Be sure to rinse your Wash Pad and get plenty of soap on your Pad for this section because it is most likely the dirtiest part of your Stang. We like to do one side at a time. Using Wash Pad, clean your lower section moving in straight lines. Move over to the passenger side. Rinse and lather up your Wash Pad, repeat the same thing you did on the drivers side and rinse.
Step 10:
You’re almost done! It’s time to wash the rear bumper of your Mustang now. We like to begin with the upper portion of the rear end (deck lid, spoiler and taillights).This will reduce the risk of collecting dirt from the lower part of the bumper and scratching up our spoiler, deck lid or taillights. Just like the other sections of your Mustang, make sure you have properly rinsed and lathered up your Wash Pad before washing.
Starting with your deck lid, wash in straight lines and hit your taillights as well. On our S550, there are crevices between each taillight section, be sure to make sure you get in there as well! We have the ROUSH spoiler on our S550 and always forget to clean underneath the spoiler. Most of the time we notice this after we have cleaned it and go to put our hand on the trunk to close it and we have dirt on our fingers. Next up, move down to the painted parts of your bumper and clean those. Lastly, we usually focus on the rear valence and exhaust tips last because those are the dirtiest! Now you can rinse all of the suds off and give yourself a high five because the hardest part is now complete!
Step 11:
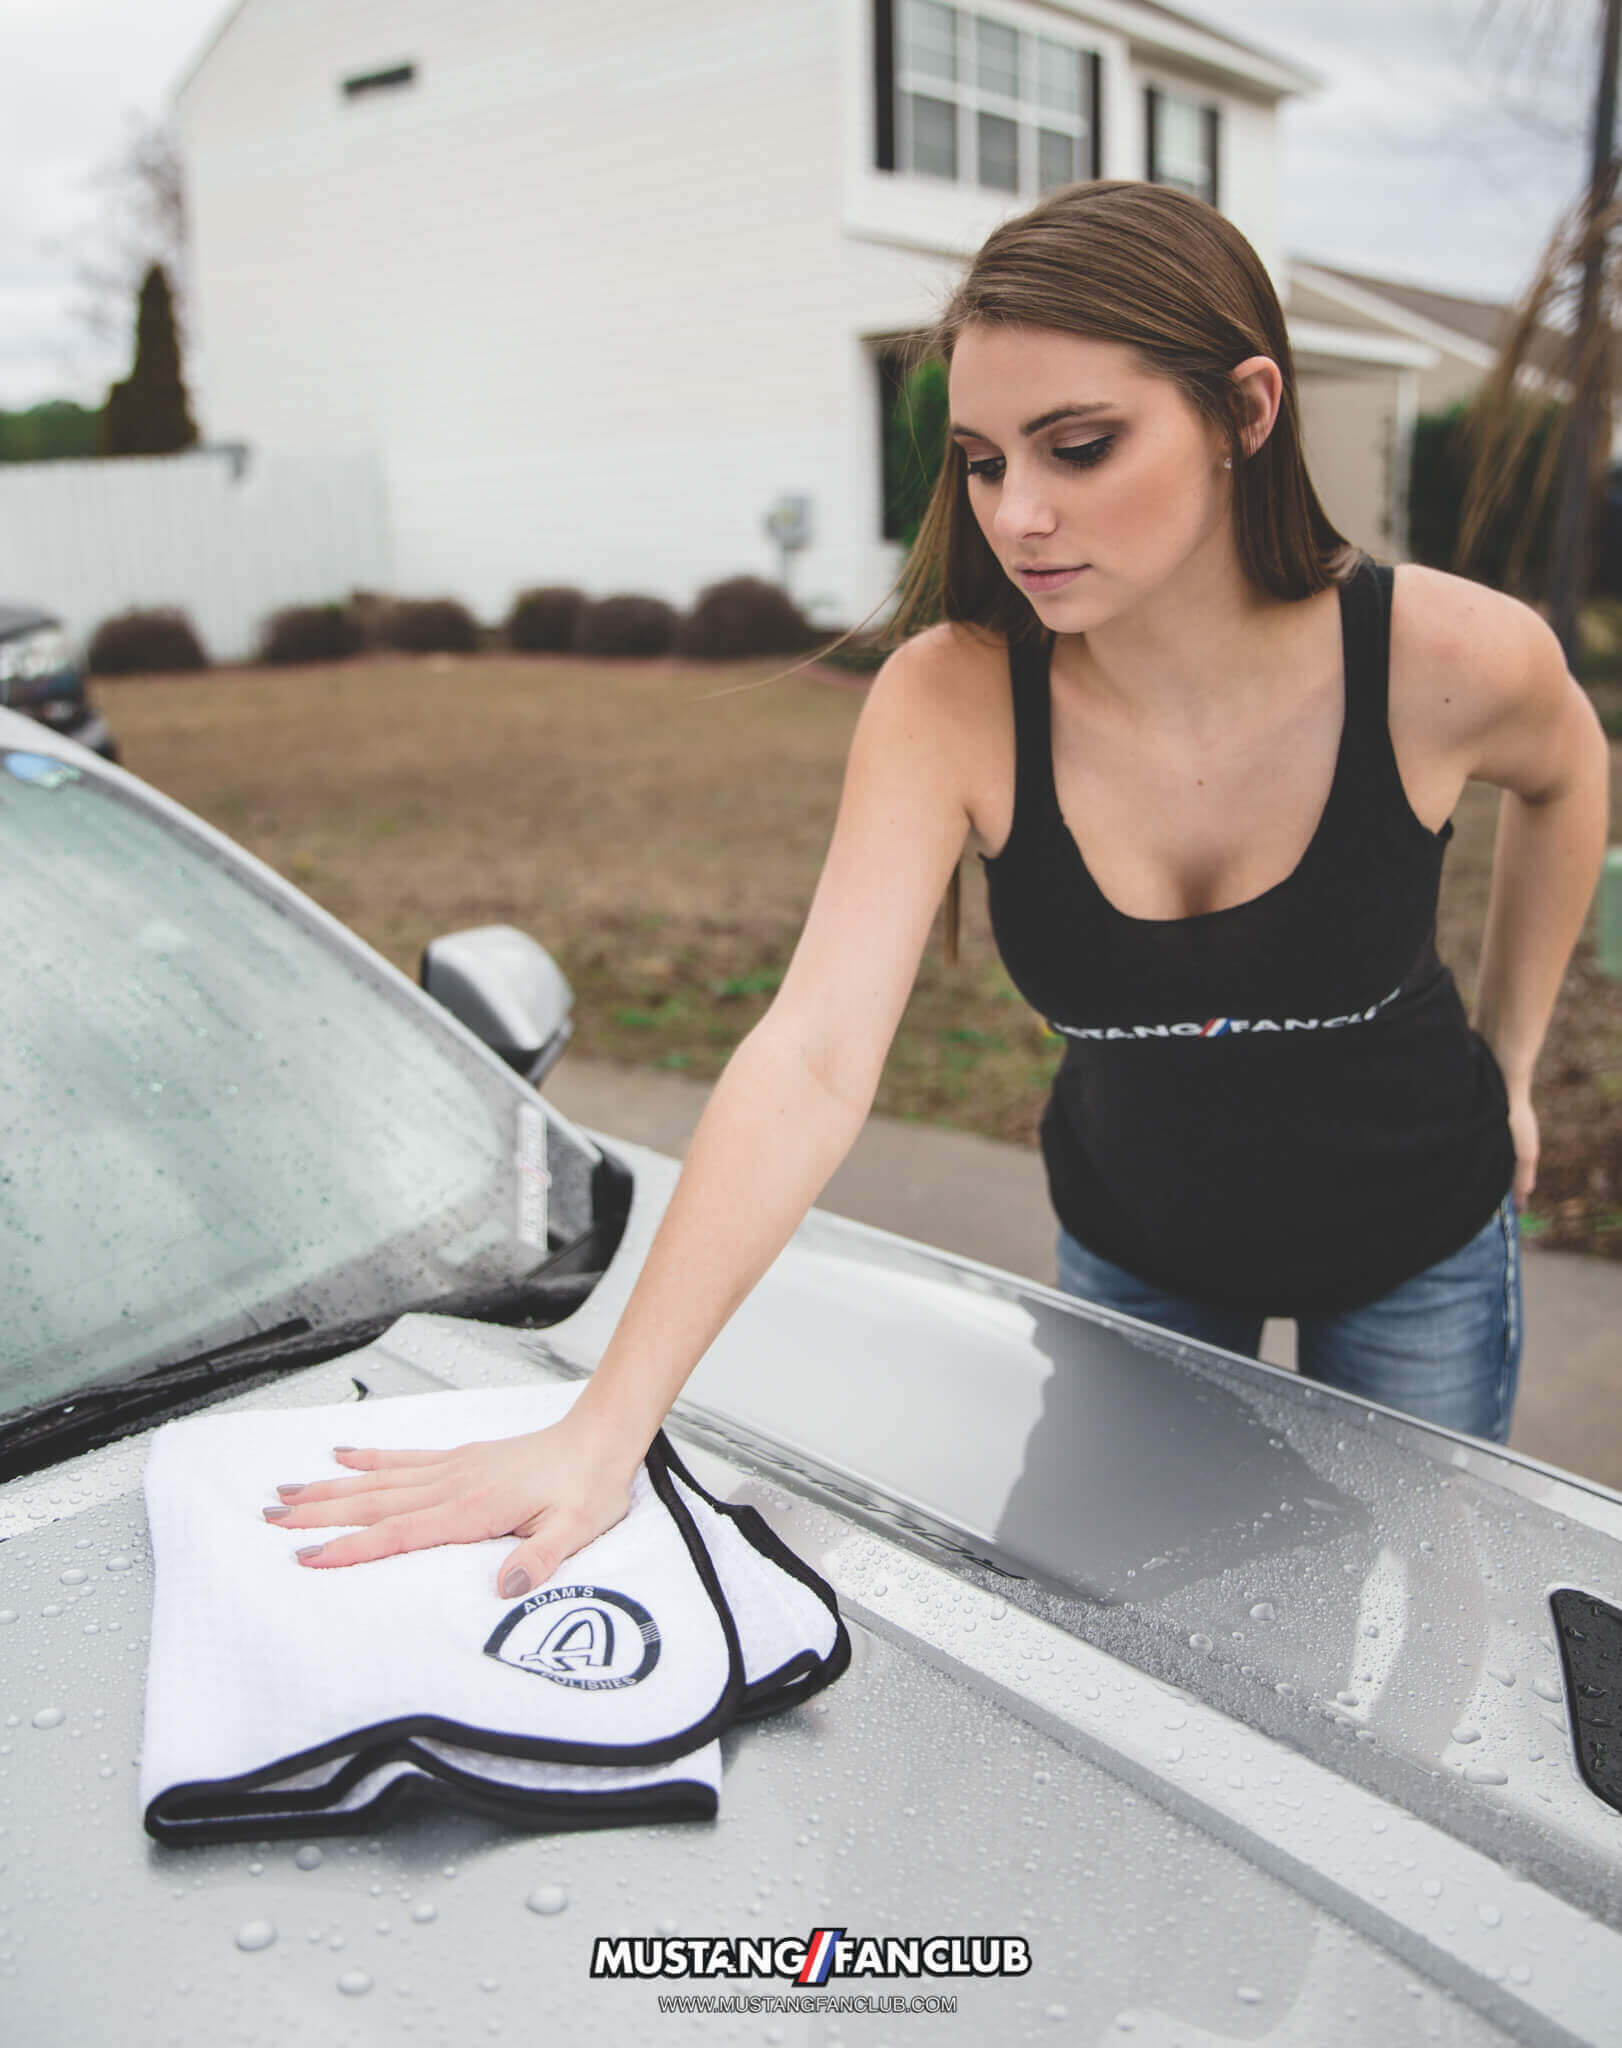
We like to use the Great White Drying Towel or Ultra Plush Drying Towel to dry excess water off your vehicle. Spray Adam’s Detail Spray while drying to add shine and reduce water spots. Make sure to fold the microfiber towel in to quarters and wipe in straight lines. Flip towel after every few passes.
We have the Adam’s Polishes Sidekick Blaster that we like to use during the drying process. This isn’t necessary but it definitely helps! You can also use a leaf blower or simply take your Mustang for a spin to air dry it.
You're all done!
Now that your Mustang is all clean, it’s time to take it out on the town for a hot date, car show, grab some new pics to post on Instagram, go hang out with your friends or put it in the garage (for all you garage queens). If you following these simple steps each time you detail your Mustang you should keep your paint in it’s best condition as possible. If you enjoyed this article, we would love to hear your feedback and have you send us some images of you detailing your Mustang. Don’t hesitate to reach out via any of our social media channels or email us, mustangfanclub@gmail.com!
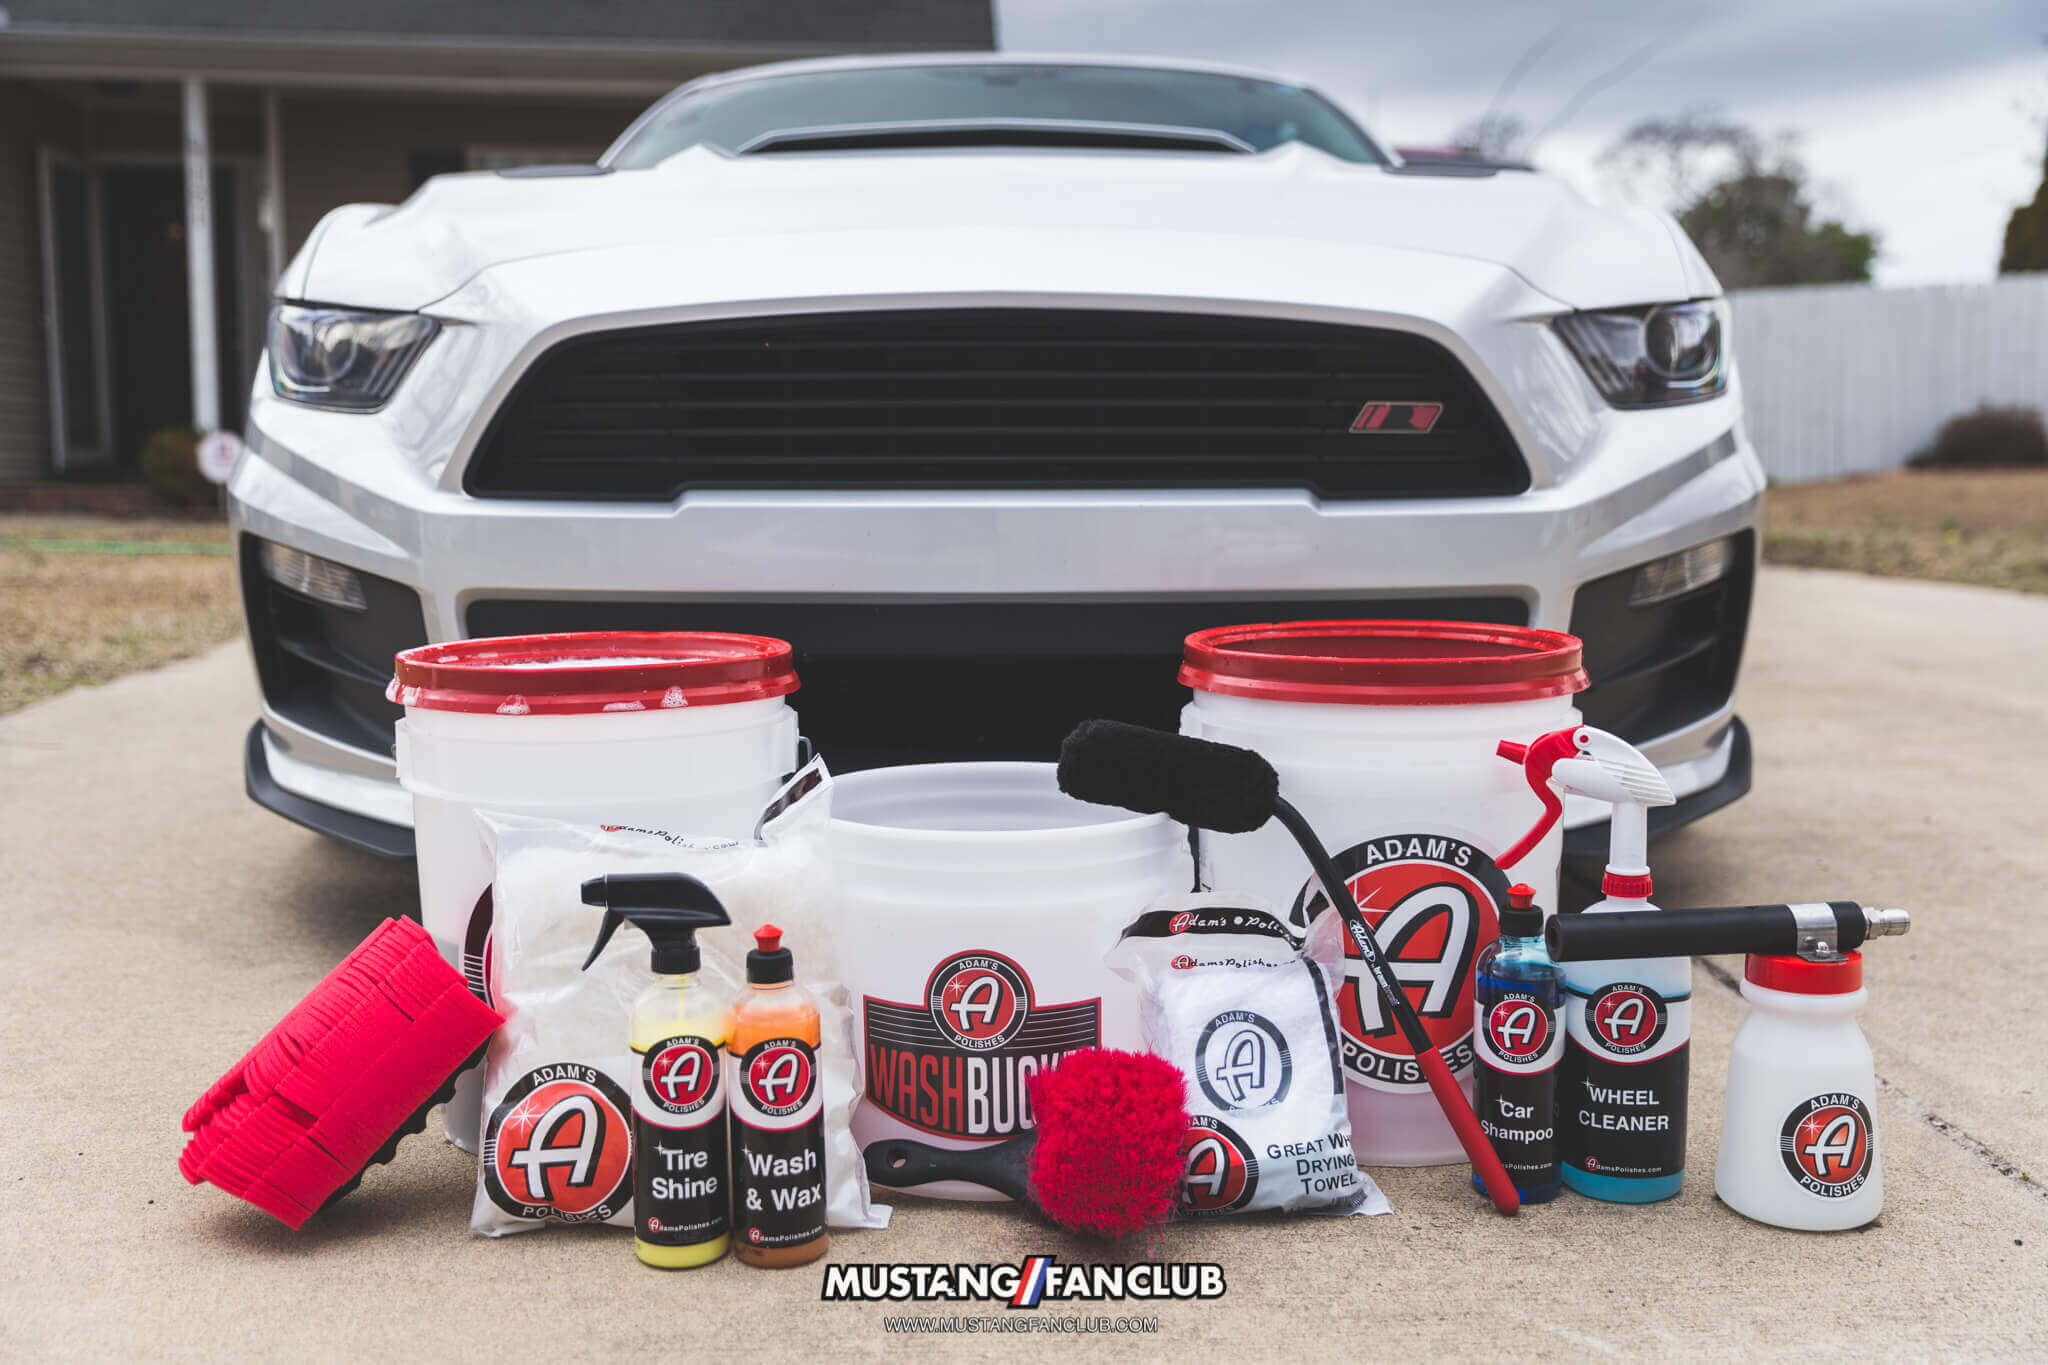
Full list of Adam’s Polishes products used:
- Adam’s 5 Gallon Detailing Bucket (x2)
- Adam’s Wash & Wax 16oz.
- Adam’s Car Shampoo 16oz.
- Adam’s 10″ Wash Pad
- Adam’s Premium Foam Gun
- Adam’s Great White Drying Towel


Well, after reading all eleven steps of the wash program, I am convinced: I am a pervert… I can’t tell you what you did in the wash, but the images of the young lady washing the car are burned into my memory.
Thanx 😀
J. Epstein
PS, I’m not dead.